

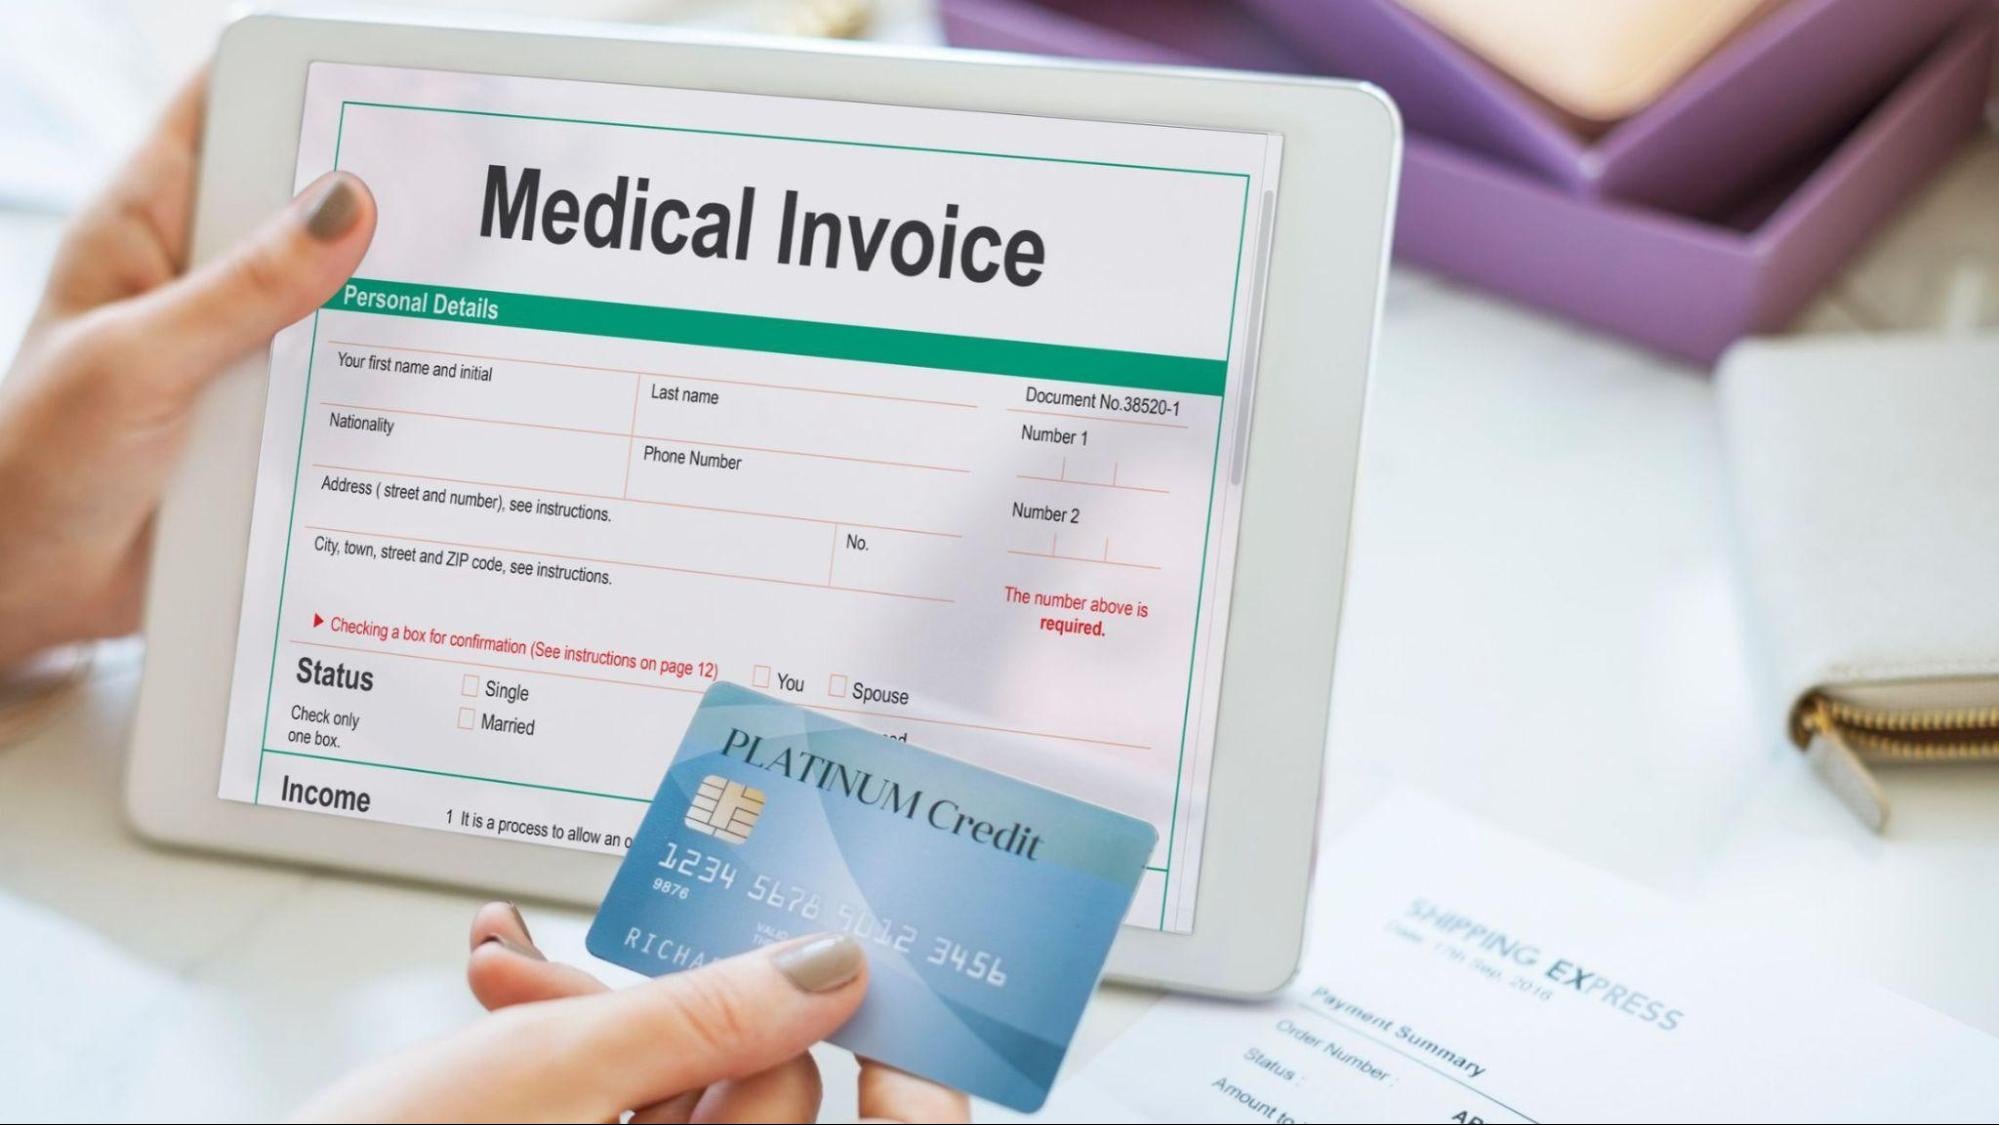
When you are in the hospital, the physical and emotional toll is heavy enough. Once the medical team gives the green light for discharge, all you want to do is pack your bags, head home, and focus on recovering in comfort. But instead of leaving, patients and their families often find themselves stuck in a cramped waiting room, staring at the clock and waiting endlessly for the insurance desk to process final clearance.
Cashless health insurance cover was designed to eliminate that very problem. In theory, it’s the insurer paying the hospital directly so you’re never in any danger of having to liquidate your savings or scrambling to get a large sum of cash together. In practice though, even the best health insurance policies can run into difficulties if the administration isn’t spot on.
If you want to ensure your hospital bill is settled smoothly and swiftly, here is your definitive, practical roadmap to navigating the cashless claims process without the headache.
- Know Your Network: Choose the Right Hospital
The whole basis of a cashless claim is that there is a pre-existing financial and administrative arrangement between your insurer and the hospital. Those hospitals are the network hospitals.
If you walk into a non-network hospital, your cashless card won’t work, and you will have to pay out-of-pocket upfront and file for a reimbursement claim later. While reimbursement is always an option, it requires you to manage the financial outlay yourself and wait weeks for the money to return to your bank account.
For Planned Admissions: always check your insurer’s current list of network hospitals before you book a procedure or select a specialist. Networks are subject to change on a regular basis and a hospital that was on the list last year may not be on the list this year. Check via your insurer’s app or website or just call their customer service line to confirm.
For Emergency Admissions: In an emergency, safety comes first. Go to the nearest well-equipped hospital immediately. However, if family members or friends are available, have them check whether the facility is in your insurer’s network or if a nearby network facility is an option once the patient is stabilised.
- Time it Right: Inform the Insurance Desk Early
Timing is absolutely everything when it comes to pre-authorisation. The hospital’s insurance desk is the interface between your doctor and your insurer. They’re the ones who have to issue the formal pre-auth request which will contain the diagnosis, the proposed treatment, the expected length of stay and the anticipated cost.
To avoid unnecessary delays, follow these two golden rules of timing:
Planned Hospitalisation: If you are scheduling a surgery or procedure in advance, do not wait until the morning of admission to visit the insurance desk. Walk into the hospital’s TPA desk 2 to 3 days beforehand with your doctor’s admission note. This allows your insurer enough time to review the request, ask for any clarifications, and issue an initial pre-authorisation letter before you even step foot in your hospital room.
Emergency Hospitalisation: In an emergency, treatment takes precedence over any paperwork. Once the patient is in hospital and receiving treatment, you must get in touch with the hospital TPA desk as soon as possible (ideally within 24 hours). Most insurers have very strict timeframes for notification of an emergency, and if you miss that window, it can have a significant impact on the approval.
- Keep Your Essential Dossier Ready
When a claim gets delayed, nine times out of ten, it’s because the insurer is waiting for a missing document, a missing doctor’s stamp, or clearer identity proof. You can drastically speed up the turnaround time by keeping a dedicated “insurance folder” (both physical and digital on your phone) for your health insurance policy ready at all times.
Your dossier should include:
- Health Insurance Card / Policy Document: Digital copies on your phone are great, but keeping a printed copy of your health card and active policy schedule in your file prevents tech hiccups.
- Valid Government-Issued ID: Keep clear copies of identity documents (such as your Passport or other official identification) for both the patient and the primary policyholder.
- Doctor’s Admission Note & Diagnosis Reports: The insurer needs clear clinical evidence explaining why hospitalisation is medically necessary. Ensure the doctor’s prescription explicitly mentions the diagnosis, symptoms, and recommended course of treatment.
- Past Medical History: If the hospitalisation is related to a pre-existing condition (like diabetes, hypertension, or heart disease), carry past consultation notes and prescription records. Insurers often request these to verify that there are no non-disclosure issues.
- Decode the Final Discharge: Review Before You Sign
The final discharge stage is where most waiting time occurs. Once your doctor signs off on your discharge, the hospital billing department compiles every single item—from surgical equipment to daily consultation fees and submits the final invoice to your insurer for final settlement.
Final thoughts
A cashless health insurance claim is one of the most useful things you can have in a health crisis, but it’s all down to a very clear and well defined process of communication. Pick a network hospital, get your pre-authorisation in well in advance, keep all your documentation in order and be actively engaged in the review of your bill. Take control of the process at the outset so that when discharge day comes you can actually just focus on getting home to recover.