

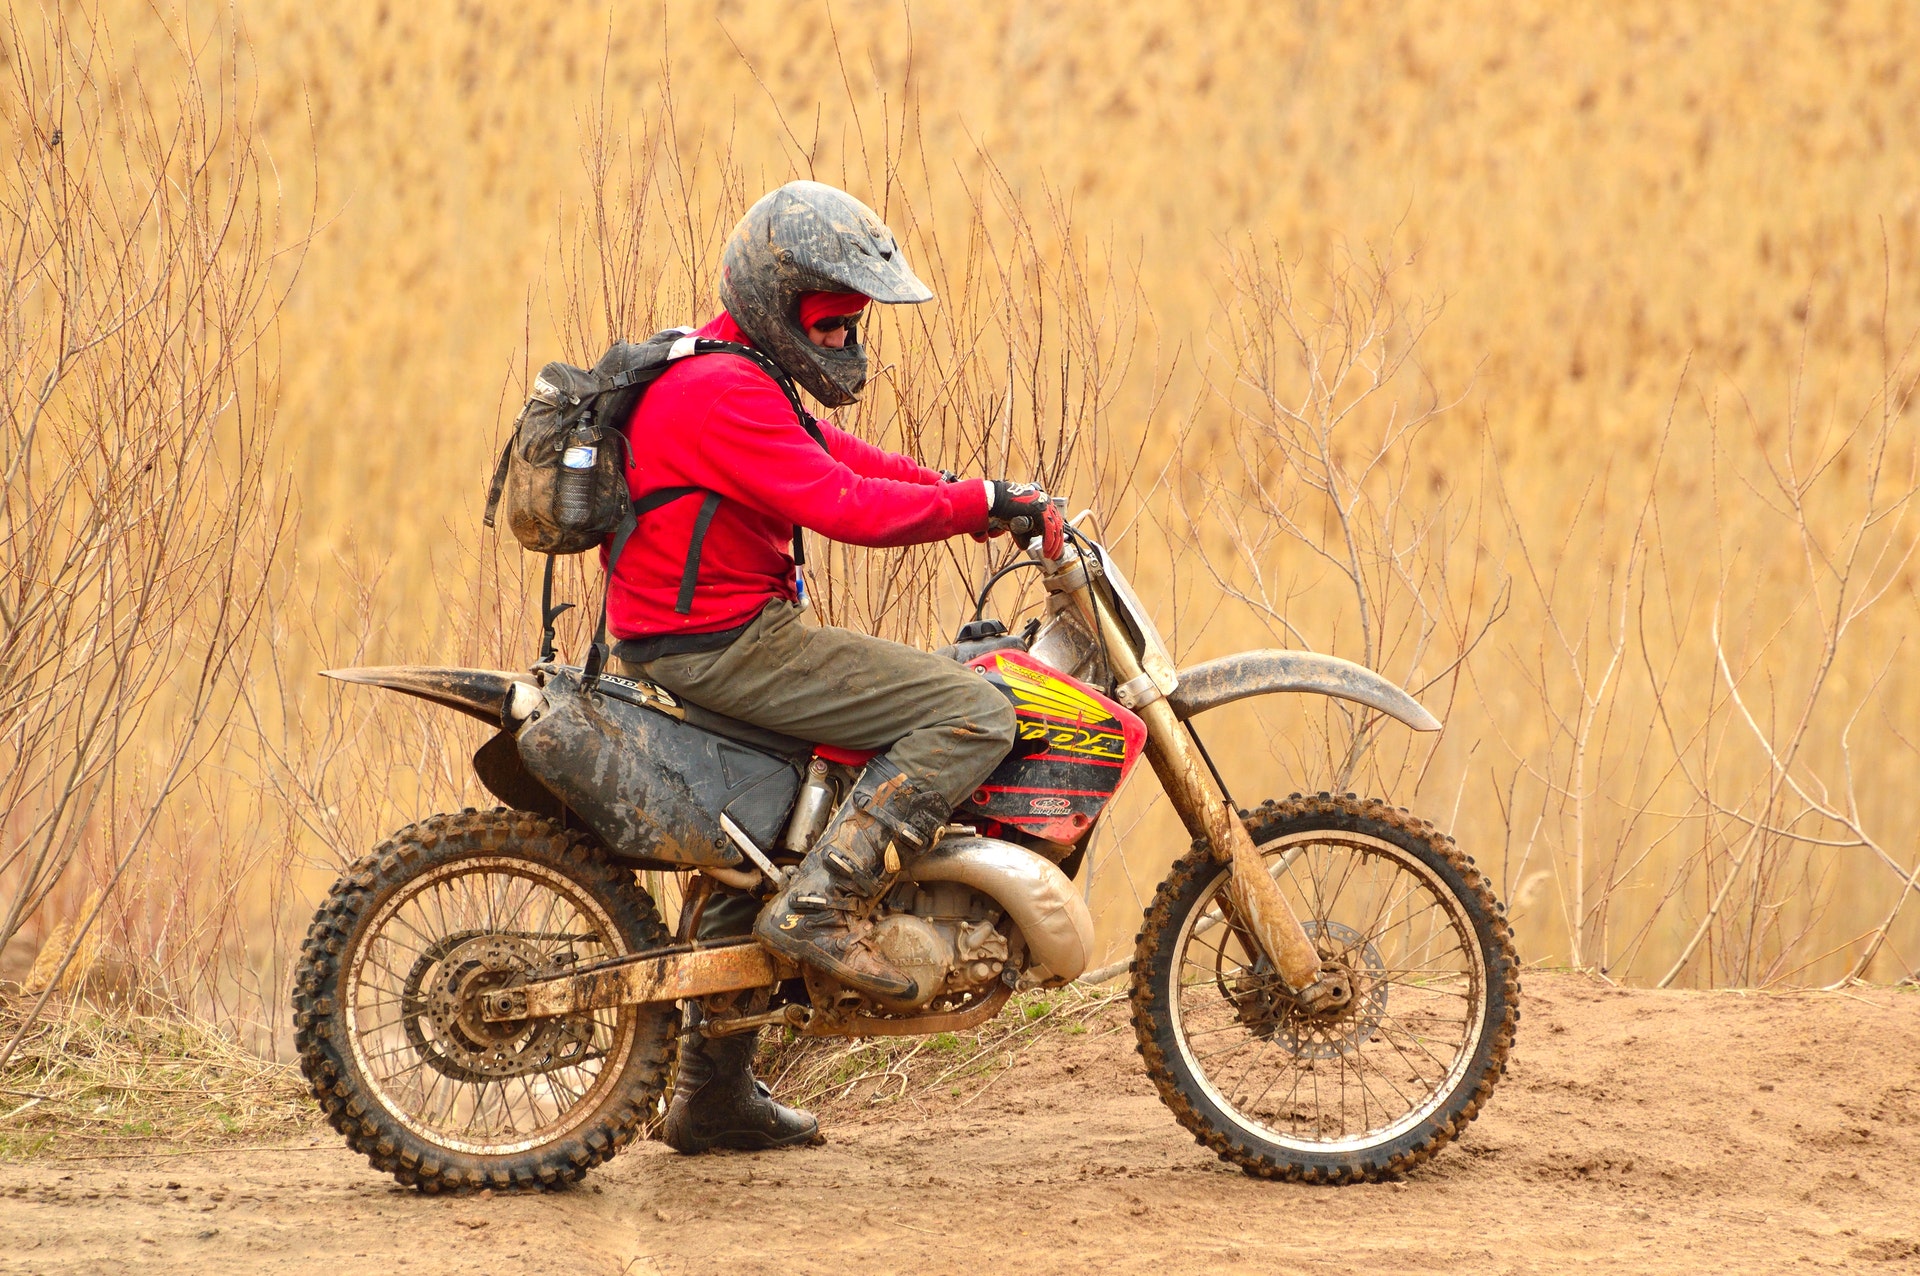
Adding graphics to a dirt bike can keep the bike looking its best, protect its plastic parts, and even allow riders to attract more attention from sponsors. It may not be the first mod most riders think of, but decals deserve a place on every bike. Those who have never added graphics to their bikes can read on to find out everything they need to know about how to apply them.
Sourcing Dirt Bike Graphics
Since the purpose of decals is to make the bike look better, it’s only worth buying them if riders source their graphics from reputable vendors. Check out Senge Graphics to view a wide array of pre-manufactured options. Ordering decals online offers riders access to a far wider array of options and makes it easier to find trustworthy brands.
Prepping the Plastic
The process of preparing the bike to take decals differs somewhat based on the age of the bike and its condition. If there are old graphics on the bike, they’ll need to be removed before new ones can be applied.
Removing Old Decals
Applying heat to the graphic can make it easier to remove, but don’t let the plastic get excessively hot. Heating the decal up a little will allow the adhesive to lift off more easily. Riders will also have to remove residual adhesive using a contact cleaner or rubbing alcohol. Once it’s gone, wash the plastic down with soap and water and give it time to dry completely before applying the new graphics.
Preparing New Plastic
Just got a new bike or replaced the part that will be sporting the decal? Riders in this position will have to remove manufacturing oil residue from the plastic before they can apply graphics. Use rubbing alcohol or a contact cleaner to accomplish this goal and make sure to use a soft cloth to clean it. This will avoid scratching the plastic.
Installation Basics
Prepping the plastic allows the decals to adhere fully to it. Note that graphics applied to fuel tanks often become slightly discolored and may bubble up. There’s no avoiding this problem since some of the fuel vapors from the tank permeate through the plastic to cause this issue no matter what riders do.
Before applying the graphics, check the alignment. Just put them in place with the paper backing still on to make sure they look good. It can also help to mark where each decal will go when using multiple graphics.
Tips for a Smoother Application

The last thing any rider wants is to wind up with a deformed-looking decal. Adding graphics to a bike isn’t hard since they come with adhesive, but applying them correctly can be a bit tricky. Here are a few tips that can help:
- Peel the Backing Paper Off Slowly
When working with larger decals, start by peeling off the backing paper from only that area of the decal that will be applied first. Attempting to remove the backing paper from the entire graphic and stick it on all at once is a messy process that often leads to unnecessary mistakes. The decal can wind up sticking to things it shouldn’t or get bunched up in some places, so pull off the backing slowly as it goes on.
- Reduce Air Bubbles
If applied all at once or without adequate care, the graphic will wind up with air bubbles. While this is unavoidable on plastic fuel tanks, it’s easy to get the bubbles out elsewhere on the bike. Just use a soft cloth to smooth down the decal as it goes on. If that doesn’t work and bubbles appear despite riders’ best efforts, they can back the decal off the plastic some and reapply it slowly, exercising more care to avoid imperfections.
- Direction Matters
Riders should start peeling off the backing paper and applying graphics in the area that is closest to them. Applying decals in the other direction can pull air back up beneath them and create more problems with air bubbles.
- Check the Holes
The plastic parts on dirt bikes have holes that need to line up properly to fit the bike back together. Those who have removed the piece to apply their graphics should be careful to line them back up properly. Graphics designed for individual bikes should already have holes in them to make this process easier.
- Apply Heat to Improve Application on Curved Sections
Today’s bikes often feature curved sections of plastic. Instead of applying heat directly to the plastic, use a heat gun to heat up the graphic to make it more pliable. This makes it easier to get around curves without winding up with bunching or tears.
- Keep Hands Clean
It’s important for riders to keep their hands clean throughout the entire decal application process. Wash off grease, dirt, and leftover adhesives from old graphics before applying the new ones.
- Don’t Heat Seal until the Very End
Once the graphics look like they’re placed correctly, riders will need to trim off any excess using scissors or craft knives. They should do this before sealing the decals with a heat gun. Anyone planning to apply multiple graphics should wait until each of them is properly aligned and installed to heat seal them into their final positions. Once heat has been applied, riders won’t be able to easily change the placement and may wind up having to replace their decals entirely if something goes wrong.
- Add Extra Protection
Riders can apply soft rubberized grip tape to areas where graphics are likely to see more wear and tear. This protective layer will need to be replaced every few weeks, but it will keep the decals looking like-new and protect them from UV damage and debris.
Final Word
A good-looking dirt bike will turn heads at the track and get plenty of positive attention from sponsors. Since it’s relatively easy to remove old decals and apply new graphics as needed, don’t be afraid to get creative. If a company or organization eventually decides to sponsor the rider, he or she may need to remove the personalized decals that first caught the sponsor’s eye and replace them with company logos. This process will be just as simple and straightforward.


