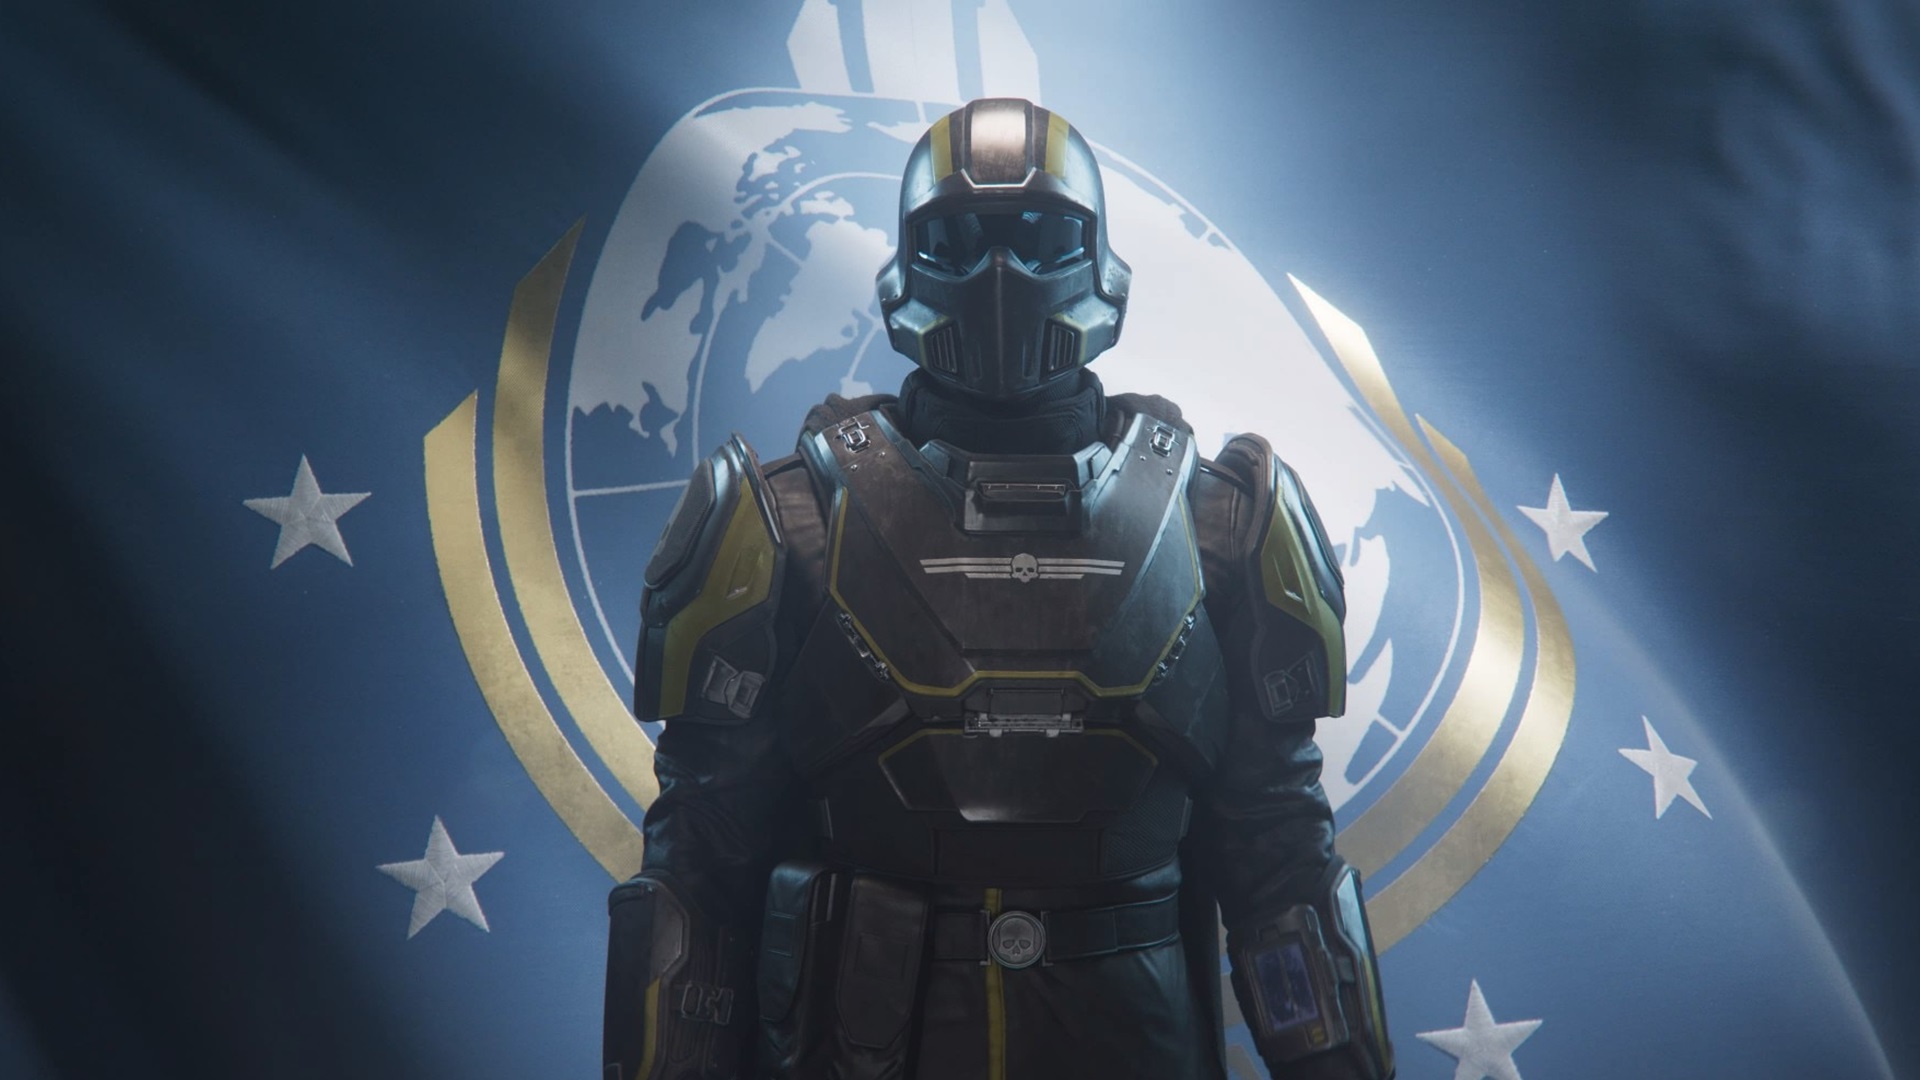
Helldivers 2 is built around chaos, teamwork, and moments where everything goes wrong at once. One of the most confusing and dangerous objectives players face is the One True Flag mission. At first glance, it looks simple. Carry a flag, plant it, and defend it. In reality, this mission tests positioning, loadout planning, and squad discipline more than most combat encounters. If your team keeps wiping during this objective, you are not alone. Understanding how to survive and complete the One True Flag mission can make a massive difference in higher difficulty operations.
The One True Flag mission is a special objective where your squad must retrieve a ceremonial flag and escort it to a designated zone. Once planted, the flag triggers continuous enemy waves that aggressively target both the objective and your team. Unlike standard defense missions, enemy spawns feel relentless and often include elite units. The flag itself cannot be abandoned for long without consequences, which forces constant movement and coordination.
The real threat is not a single enemy type. It is the pressure. Enemies spawn from multiple directions, terrain limits visibility, and stratagem cooldowns suddenly feel much longer.
Why Most Squads Fail This Objective
Many players treat the One True Flag like a normal defense mission. That mistake usually leads to a fast squad wipe. Common issues include:
-
Poor positioning near open terrain
-
Overlapping stratagem usage with no backup plan
-
Ignoring smaller enemies that interrupt reloads
-
Splitting too far from the flag carrier
This mission punishes hesitation. Every second spent disorganized increases enemy density and reduces survival chances.
Best Loadouts for the One True Flag
Choosing the right equipment matters more here than raw damage numbers. Your squad should focus on control, sustain, and emergency resets.
Recommended primary tools include:
-
Medium to high capacity weapons for crowd control
-
Reliable secondary weapons for panic situations
-
Armor that balances mobility and survivability
For stratagems, prioritize tools that shape the battlefield:
-
Area denial explosives to block spawn routes
-
Defensive turrets placed behind natural cover
-
Emergency reinforcement options for quick recovery
Avoid overly complex stratagems that require long setup times. Simplicity keeps you alive.
How to Position Your Squad Correctly
Positioning is the difference between success and disaster. When planting the flag, avoid wide open spaces whenever possible. Natural chokepoints, cliffs, or narrow passes reduce spawn angles and enemy flanking.
A strong formation includes:
-
One player focused on flag interaction
-
Two players covering opposite approach angles
-
One flexible player responding to breaches or revives
Do not stack too tightly. Explosive enemies can wipe clustered squads instantly.
Managing Enemy Waves Efficiently
Enemy waves during the One True Flag mission escalate quickly. Early waves feel manageable, but later waves overwhelm careless teams. Focus fire is essential. Elite enemies should be marked and eliminated first, while smaller units are cleared using sustained fire.
Communication matters more than perfect aim. Call out reloads, low ammo, and incoming elites. Small warnings prevent big mistakes.
Adapting to Difficulty and Terrain Variations
Higher difficulties introduce faster spawns, tougher enemies, and less room for error. Terrain also plays a major role in how the mission unfolds. Snow planets limit movement, desert maps reduce cover, and jungle environments block visibility. Adjust your pacing based on the environment instead of rushing the objective. Slower flag movement can prevent accidental pulls and surprise flanks. Use elevation when possible, and always assume enemies will attack from behind. Flexibility separates successful squads from frustrated ones during repeated attempts.