

Gihosoft
We all love to click photos on our iPhones and sharing it with the world, isn’t it? Well, if you are a DSLR or any other pro-camera user, you would know that one high quality photo can take up to 25MB of storage. This is the size of a good quality picture taken from a DSLR camera and iPhones are no less. Each picture from your iPhone also takes up considerable amount of storage and trust me when I say this, having iPhone storage issues is a field where you would not like to play. Your iPhone should always have sufficient amount of storage otherwise it won’t work as efficiently as it should.
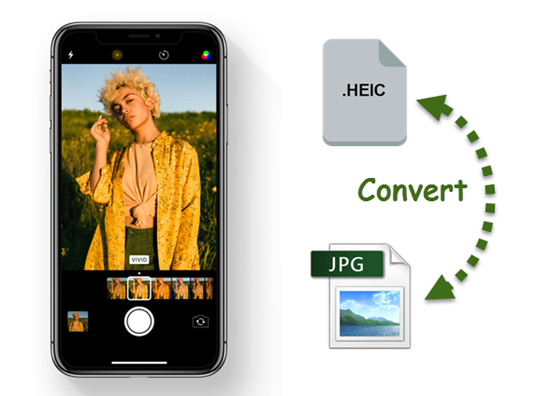
So, ever since iOS 11 was launched, Apple uses a hybrid HEIC format to store pictures on iPhone. Images in this format take up considerably lesser space than JPEG images while retaining image quality. Thus, having the best of both worlds is HEIC format. However, sending the image over to your PC or Mac for editing might be an issue to some of the pro-users. So, they all look for ways to convert HEIC to JPEG before.
iPhones have this option inbuilt, and today I will tell you how you can change these settings as per your convenience.
How to convert file from HEIC to JPG?
- Go to iPhone Settings > Camera > Formats
- Click on ‘Most Compatible’ for JPEG format and ‘High Efficiency’ for HEIC format.
You can use these settings to always store pictures on your iPhone with the chosen format and you can transfer images to your PC or Mac with the same format.
- However, to have the best of both worlds; go to Settings > Photos > Transfer to Mac or PC > Click on ‘Automatic’.
- Once you click on Automatic, you can send HEIC files from iPhone to your PC or Mac in JPEG format.
Voila! You are good to go! You can now select the most appropriate option in these settings as per your work requirement. I personally use HEIC but if you are a professional and want to edit pictures in JPEG, go for it.
Also, if you have exported a file onto your Mac or PC with HEIC format, you can convert that file into JPEG from the Photos App on your Mac and Windows. Just click on Export and choose whatever suitable format you want, from the dropdown list.


