


While it’s not generally so famous as MOV or even FLAC documents, you may periodically experience an MKV, or Matroska, record. At the point when you’re managing captions on a sound or video track, an MKV record can prove to be useful.
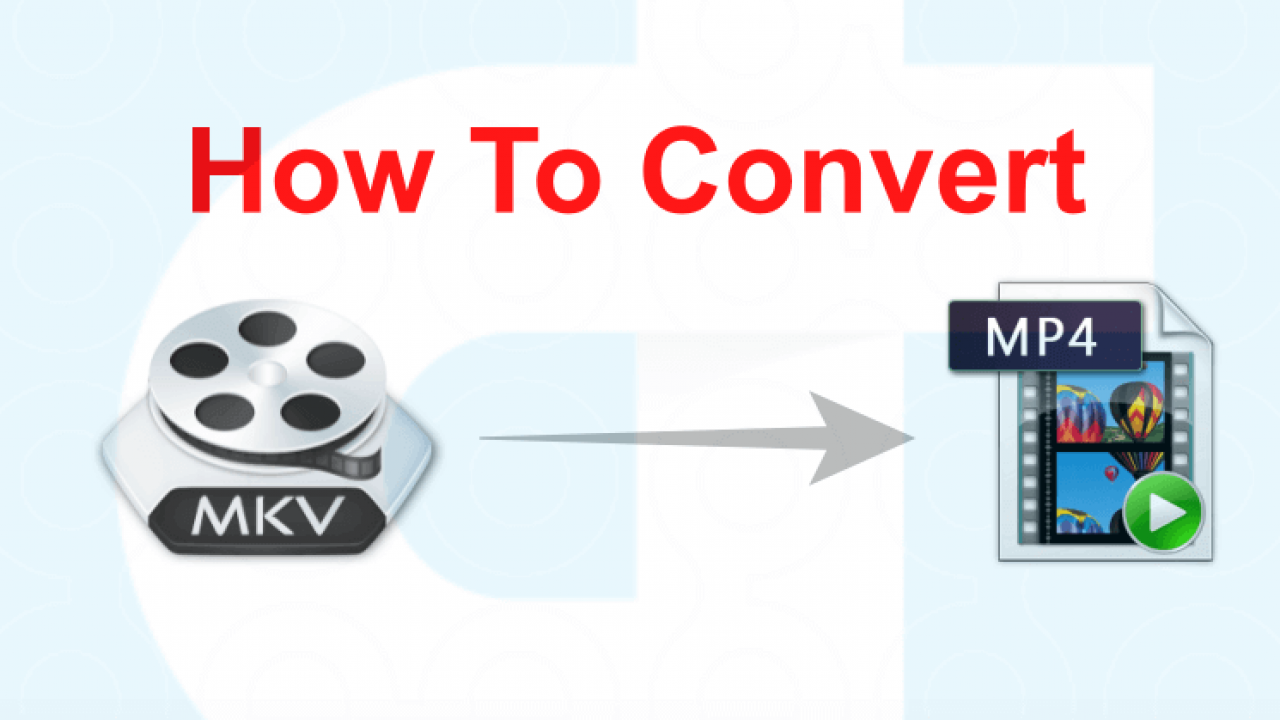
At the point when it’s an ideal opportunity to change over an MKV document into something your gadget will uphold, similar to an MP4 record, it’s critical to ensure you follow these means to forestall any information misfortune.
VLC (Windows/macOS)
The VLC media player can perceive and play practically any video design, including MKV. Even better, it can likewise change them over to something more all-inclusive, like MP4. This is the way.
Stage 1: Head over to VideoLAN’s site and download VLC. Try to peruse the fine print when introducing, so you’re not acquainting your PC with any bloatware.
Stage 2: Open the product and snap the Media tab in the upper-left corner and select Convert/Save from the subsequent drop-down menu.
Stage 3: Click the Add button and find the document you wish to change over on your PC. Whenever it’s chosen, press the Convert/Save button at the lower part of the window.
Stage 4: Specify your ideal video design – for this situation, we’d suggest H.264 + Mp3 (MP4) – utilizing the drop-down menu close to Profile. Tapping the apparatus symbol (close to the drop-down menu) will likewise permit you to additional calibrate your settings.
Stage 5: Specify under Destination where you would like VLC to send out your document. Then, at that point, click Start. The course of events will transform into an advancement bar and when it gets done, your video will be prepared. Recollect that the old MKV record exists. Assuming you never again need the old record and would favour more extra room on your PC, you ought to erase all your old MKV documents when wrapped up.
CloudConvert (electronic)
Luckily, you don’t need to depend on programming to change over your records. All things considered, you can utilize a web administration to accomplish the work for you. There is a lot to look over, however, we think CloudConvert is awesome. It’s straightforward and supports a wide assortment of record designs.
It’s a facilitated administration, so you’ll need to transfer your video documents to their server. You might have security concerns, and assuming you do, you can essentially utilize programming to alter them on your gadget. In any case, you have the decision to quickly erase your document when it changes over. Simply click on the X symbol close to the Download button to do as such. Be cautioned that it can require as long as 24 hours, however, your recordings ought to be erased from their servers for all time.
Stage 1: Go to the CloudConvert landing page and snap Select File to pick a document from your PC. Assuming you click on the drop-down bolt inside the Select File button, you can look over records you keep in Google Drive, Dropbox, or other internet-based capacity choices.
Stage 2: Select the bolt close to Convert To and afterwards pick MP4 from the video designs list. Click the Convert button to begin the interaction.
Stage 3: The transformation doesn’t take excessively long, and you realize the cycle is done when the choice to download shows up. (CloudConvert may consequently playback your recently changed over video for you, so you can check whether the transformation worked out in a good way before you download the new record.) Click the green Download button to download your new video. When you download your MP4 record, you can utilize it on any viable gadget or stage. On the off chance that you will change over records often, you should add the CloudConvert Chrome augmentation.


