

Minecraft, a sandbox game filled with endless possibilities, introduces various blocks that serve unique purposes, enhancing the player’s experience. From the foundational Smooth Stone to decorative Glass Blocks and utility-focused Smokers, Minecraft offers a diverse range of options for players to experiment with in their creations.
Amidst the world-building elements, Minecraft also incorporates a complex combat system, requiring players to craft powerful weapons and armor. The Smithing Table, a utility block essential for crafting the game’s strongest tools and armor, plays a crucial role in this process. This article provides a step-by-step guide on how to craft a Smithing Table and explores its diverse applications.
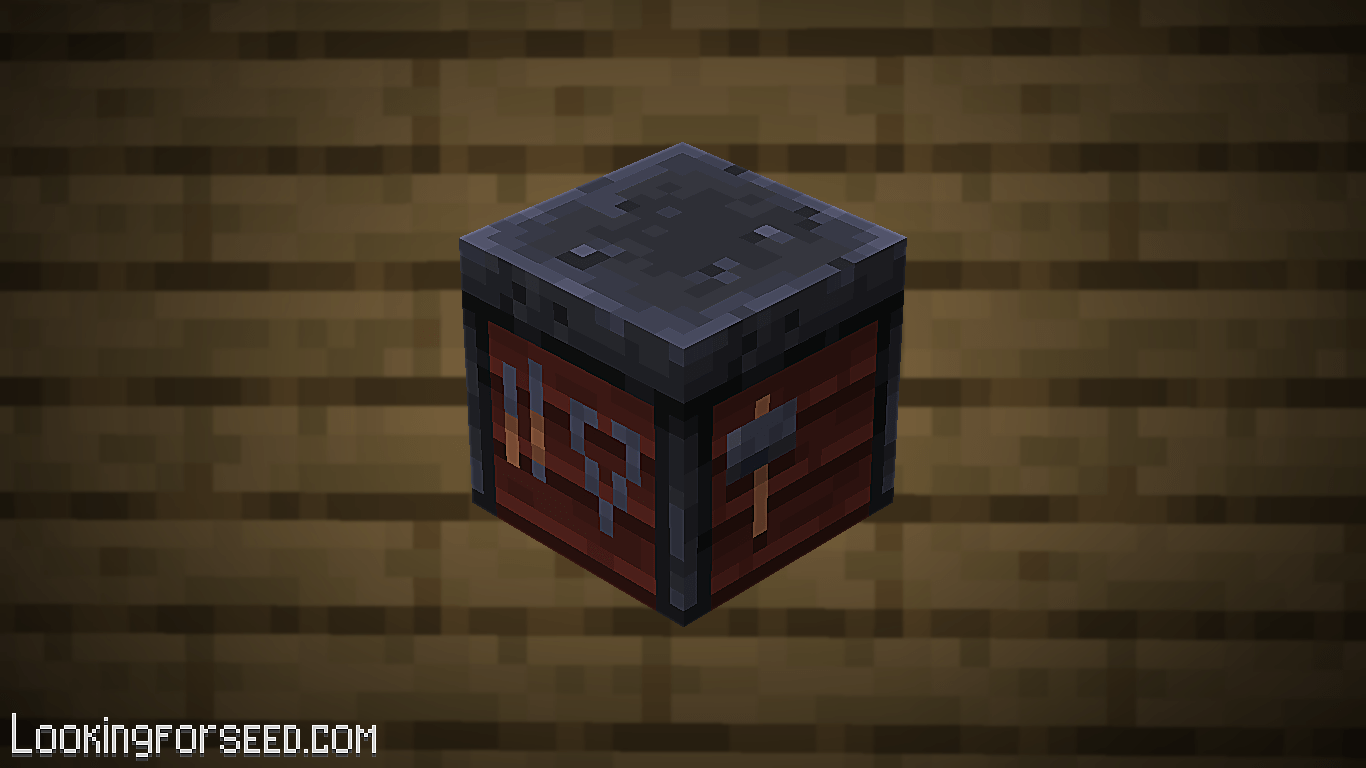
How to Craft a Smithing Table in Minecraft
Crafting a Smithing Table is a straightforward process that requires a Crafting Table, a minimum of four Planks, and at least two Iron Ingots. Follow these simple steps:
- Open the 3×3 Crafting Table grid.
- Place four Planks in a 2×2 configuration at the bottom two rows towards the left.
- Position the two Iron Ingots in the top row above the planks.
Congratulations! You have successfully crafted a Smithing Table, a valuable asset in your Minecraft journey. Alternatively, if you explore a village, you might stumble upon a naturally spawned Smithing Table, thanks to the Toolsmith villager specializing in crafting tools and weapons for the community.
Utilizing the Smithing Table in Minecraft
Once you have crafted or acquired a Smithing Table, its applications extend beyond its crafting purpose. Here are some notable uses of a Smithing Table in Minecraft:
- Furnace Fuel: In moments of scarcity of coal or other fuel sources for your furnace, a Smithing Table can serve as an alternative. However, it is not as efficient as traditional fuel sources like coal.
- Villager Profession Conversion: Placing a Smithing Table next to an unemployed villager’s bed transforms them into a Toolsmith. This allows the newly minted Toolsmith to engage in trades related to weapons and armor.
- Netherite Armor Upgrades: To elevate your Diamond armor to the next level, a Smithing Table becomes indispensable. Netherite armor, known for its superior durability and resistance to fire and lava, is highly sought after by seasoned Minecraft players.
- Exclusive Item Crafting: Smithing Tables are unique in that they craft items that are otherwise unobtainable through alternative methods in Minecraft. This rarity adds significant value to these utility blocks.
Understanding the Functionality of a Smithing Table
To harness the full potential of a Smithing Table, it’s essential to comprehend its functionality within the Minecraft universe. Here’s a breakdown:
- Toolsmith Profession: Placing a Smithing Table near a villager without a profession or with an unlocked profession can convert them into a Toolsmith. This transformation is signaled by green particles emitted by the villager after a few moments.
- Netherite Gear Upgrade: Converting Diamond gear to Netherite requires a Netherite Ingot. Obtain Netherite scraps by processing ancient debris found primarily between Layers 8 to 22, with Layer 15 being the most fruitful. Smelt these scraps with gold ingots to create Netherite Ingots.
- Upgrade Process: Head to the Smithing Table with your Diamond gear and Netherite Ingot. Right-click on the table to access the UI, then place the Diamond gear in the left slot and the Netherite Ingot in the right. Witness the transformation, retaining enchantments and gaining enhanced defense and knockback resistance.
Mastering the art of crafting a Smithing Table in Minecraft opens up a realm of possibilities for enhancing your gameplay. Whether you’re delving into the intricate village dynamics or upgrading your armor to the coveted Netherite level, the Smithing Table stands as a versatile tool in your Minecraft arsenal. So, embark on this crafting journey, explore the vast Minecraft world, and elevate your gaming experience to new heights.


