


Introduction:
As an avid Mac user, you’re likely familiar with the sight of Macintosh HD icon sitting on your desktop. While it serves as a convenient way to access your computer’s main storage drive, it may not be necessary to have it cluttering up your desktop space. If you prefer a clean and minimalistic desktop, fear not, as this blog post will guide you through the process of removing the Macintosh HD icon from your desktop, without affecting your access to it. Let’s dive in!
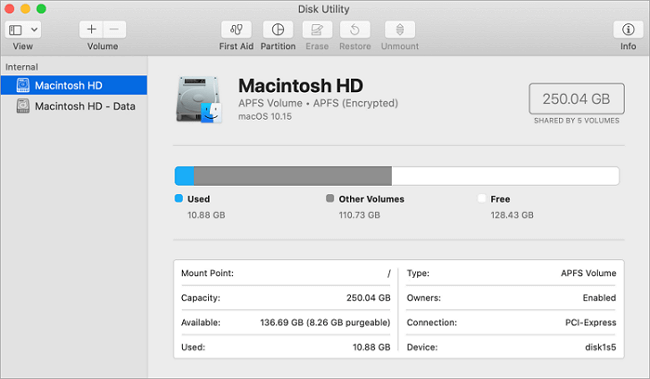
What is Macintosh HD?
Macintosh HD refers to the primary hard drive or storage device on a Mac computer. It serves as the default storage location for your operating system, applications, and user data. When you install macOS on your Mac, it automatically creates the Macintosh HD volume to house all the essential files and folders.
Understanding File Systems: HFS+ and APFS
To comprehend Macintosh HD, it’s essential to understand the underlying file systems used by macOS. Historically, Apple utilized the HFS+ (Hierarchical File System Plus) file system, but with the release of macOS High Sierra in 2017, it introduced the new APFS (Apple File System).
APFS brings significant improvements in performance, security, and reliability compared to its predecessor. It features enhanced data integrity, better optimization for solid-state drives (SSDs), and improved support for encryption and snapshotting. Therefore, newer Macs typically employ APFS as the default file system for Macintosh HD.
Step 1: Access Finder Preferences
To get started, we need to access the Finder Preferences, which allow you to customize various aspects of your Mac’s Finder interface. Here’s how you can do it:
Click on the Finder icon in your dock or select any empty space on your desktop to activate the Finder menu.
From the Finder menu, click on “Preferences.” Alternatively, you can press Command + Comma (⌘ + ,) as a keyboard shortcut to access Preferences.
Step 2: Adjust Finder Preferences
Within the Finder Preferences window, you’ll find a range of customization options. Let’s configure the settings to remove the Macintosh HD icon from your desktop:
Uncheck the box next to “Hard disks” under the “Show these items on the desktop” section. This action will remove the Macintosh HD icon from your desktop.
You can also customize other items displayed on your desktop by checking or unchecking the relevant boxes. Feel free to explore these options according to your preferences.
Close the Finder Preferences window to save your changes.
Step 3: Accessing Macintosh HD without the Desktop Icon
Although you’ve removed the Macintosh HD icon from your desktop, it doesn’t mean you’ve lost access to your main storage drive. Here are a couple of alternative ways to access Macintosh HD:
Option 1: Finder Sidebar
Open a new Finder window by clicking on the Finder icon in your dock or using the Command + N (⌘ + N) keyboard shortcut.
In the Finder window, you’ll see a sidebar on the left side.
Look for the “Devices” section in the sidebar, and you’ll find “Macintosh HD” listed there. Clicking on it will take you directly to your main storage drive.
Option 2: Go Menu
In the Finder menu at the top of your screen, click on the “Go” tab.
In the dropdown menu, select “Computer” (or press Shift + Command + C) to access a window displaying your available drives, including Macintosh HD.
Double-click on Macintosh HD to open it and browse its contents.
Conclusion:
Removing the Macintosh HD icon from your desktop allows you to enjoy a cleaner and more organized desktop environment. By adjusting the Finder Preferences, you can easily eliminate desktop clutter while retaining seamless access to your main storage drive. Remember, you can always access Macintosh HD through the Finder sidebar or the Go menu.
Embrace the simplicity and tidiness that a decluttered desktop brings to your Mac experience. Customize your Finder Preferences and discover a streamlined workflow that suits your preferences. Enjoy a distraction-free desktop while keeping your Macintosh HD just a click away!
Happy computing!


