


Earbuds have been the listening decision of numerous for a very long time, and deals of remote earbuds took off when Apple eliminated the earphone jack of the iPhone 7 and delivered AirPods. From that point forward, apparently every brand under the sun, and surprisingly some revived from the profundities, have delivered genuine remote earbuds. Some are little and modest. Some are large and costly. Some have one-size-fits-most hard plastic plans. Some have client replaceable elastic tips that oblige different size ears. However, one thing that joins all earbuds is that, at last, they get disgustingly gross, with a development of earwax and flotsam and jetsam that can upset sound quality and decrease by and large volume yield. Thus, you should invest in some opportunity to clean them sometimes.
Here we turn out a portion of the different ways you can clean your earbuds – enveloping hard plastic and delicate elastic tipped earbuds – utilizing fundamental devices and strategies that anybody can feel happy with utilizing. We want to get your earbuds overall quite clean with negligible danger of harm.
A SMALL WORD OF CAUTION
It’s vital to remember that most producers exhort cleaning earbuds with just a clean microfiber material or dry q-tip. Directions from significant makers like Samsung and Apple exhort ceasing from utilizing scouring liquor or different fluids. A straightforward liquor wipe may be fine for certain surfaces whenever avoided any speaker barbecues, mic openings, or charging ports – yet it presents a few risks. Assuming that you have a go at utilizing any wet cycles or cleaners, you do as such at your danger. Also, it might sound self-evident, yet it bears stressing: never lower earbuds or charge cases in a fluid to clean them.
Beginning WITH THE BASICS
A “toning it down would be ideal” approach is dependably the best approach when cleaning gadgets. So how about we start by going over the easiest and least unsafe approaches to cleaning the development from most earbuds. Start with the most essential cleaning instruments and move gradually up until the earbuds are sufficiently perfect. There’s no compelling reason to get intrusive with a toothpick if a puff of air deals with it, correct? Continuously start a little before leaping to limits, and utilize just what the work calls for.
A significant number of the apparatuses referenced here are normal family things. You can purchase cleaning packs for earbuds that have a ton of comparable instruments, however, you may as of now have what you want.
While blowing air from your mouth into your earbuds may thump away some residue or flakey earwax, it will in all probability be lacking, and you could accidentally store smidgens of salivation onto something that goes in your ears – not by and large sterile. Attempt the accompanying instruments:
- A bulb/rocket blower
- Canned air
For hard plastic earbuds, point the messy speaker barbecues from you and toward the floor. Have a go at pointing the blower up and into the earbud speaker barbecues, away from your face. You need to keep any garbage from possibly flying towards your eyes (it doesn’t damage to wear glasses or fundamental defensive eyewear – no one will pass judgment on you), and you likewise need gravity on your side.
For earbuds with removable delicate elastic tips, cautiously slip them off and hold the tip toward the floor. Blow air into and through the opening in the earbud tip, pointing lower and away from you. Then, at that point, flip them around and blow air through the opposite side before moving to the earbud itself and extinguishing any flotsam and jetsam that came to the speaker barbecues. When the elastic tips are eliminated, they become the main piece of earbuds that you can securely clean with fluids. For that you decide to clean the segregated tips with water, let them dry for the time being to guarantee there is no leftover dampness before you set them back on the earbuds.
If this essential interaction is to the point of blowing away the garbage and leaving your earbuds looking adequately spotless enough, take a perfect and dry microfiber fabric to all surfaces and clean away any excess soil. If the development is solidified and not moving, then, at that point, keep your canned air or blower close by while we get more obtrusive to attempt to separate the gunk.
Remember the charging case: Forced air and a microfiber material will frequently be to the point of wiping out any soil that gets moved from remote earbuds to its charging case.
TOOTHPICKS, COTTON SWABS, AND MORE SCRAPING AND BRUSHING TOOLS
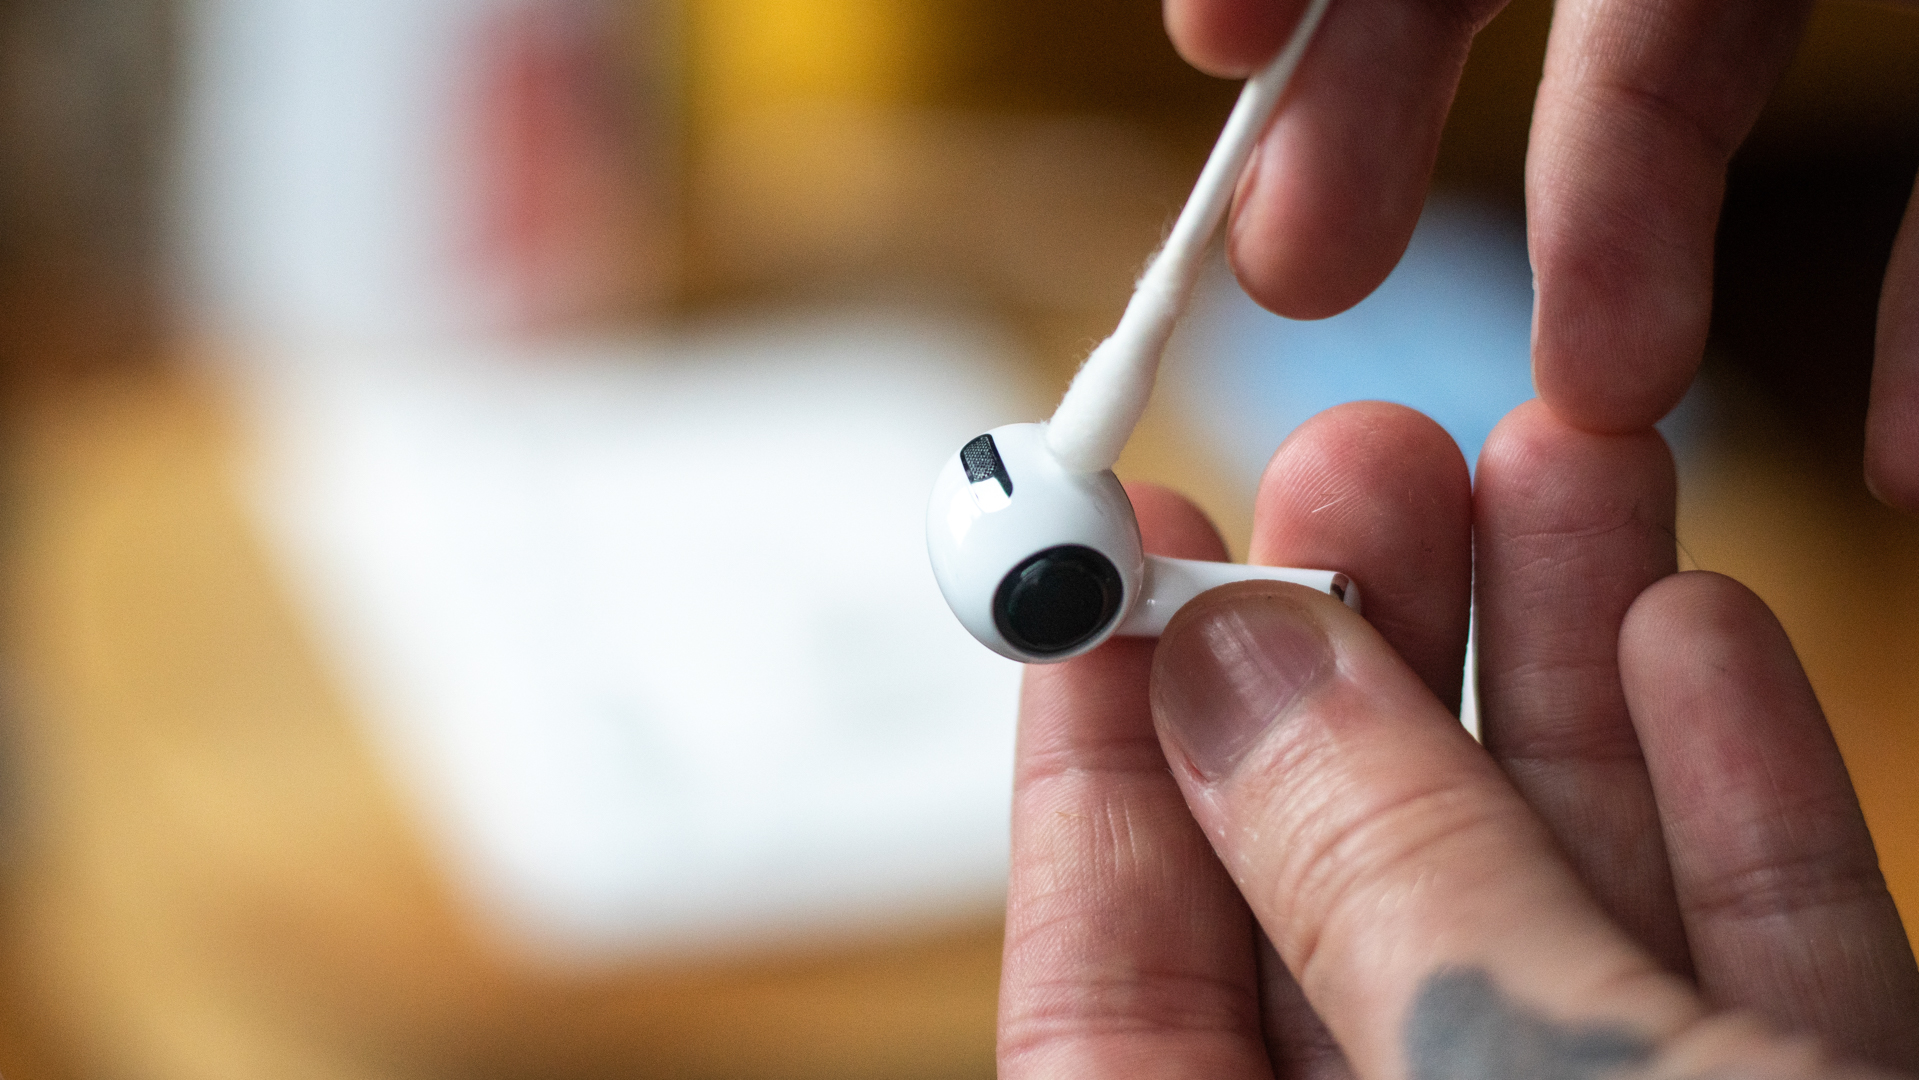
A puff of air is seldom enough for stuck development, particularly assuming you have excessively waxy ears (I’m hanging around for you; and lordy, do I sympathize). The following stage is to utilize a little instrument to separate the earwax or development of trash without gambling harm. You are going to take a pick or test to a piece of gadgets, so practice some consideration and alert. Think about the accompanying devices:
- Q-tip
- Essential wood or plastic toothpick
- Plastic spudger device (much the same as the ones iFixit incorporates with numerous DIY fix packs)
- Wood stick (regularly utilized for food/preparing)
- Dry brush (toothbrushes are great, yet never take any risks involving them for dental consideration after this)
- Pipe cleaner (human expression and artworks kind)
Note that we are picking instruments here that are delicate (cotton, brushes) or firm however not excessively hard (wood, plastic), as metal may make scratches or harm the speaker barbecues or plastic shell of an earbud. Not surprisingly, we need to begin with the most un-intrusive and move gradually up if it’s required.
For hard plastic earbuds, start with the q-tip and attempt to separate and wipe away garbage or wax in the speaker barbecues. Point them descending to allow gravity to help your objective. If the swab isn’t sufficient, move forward to a toothpick, spudger, or wood stick and cautiously separate the development installed at the corners and edges of the speaker’s pit.
For delicate elastic tips, the toothpick may be perhaps the best instrument – it can fit through the opening of a disengaged earbud tip and scratch the inward divider. Make certain to likewise clean the uncovered speaker with the q-tip, brush, or toothpick on the off chance that wax has been saved on it. If your earbuds have a rubber treated blade or brush to assist with getting their fit in your ear, these may be best cleaned with a toothbrush. A line cleaner can be extremely useful for these delicate elastic pieces too, yet because of its metal bar centre, it ought not to be utilized on much else.
When you separate the obstinate development, blow additional air from a can or blower and check whether that at long last eliminates the flotsam and jetsam. Take a cleaning material to every one of the surfaces, and ideally, you presently have some satisfactorily spotless earbuds.
Reward tip: Keep a water-hosed paper towel or wipe helpful, and you can conveniently wipe away all the gross stuff as it gathers on your toothpick while limiting the wreck. Be ready to clean your work area after you’re done, as you may be astonished how much flotsam and jetsam come out while doing a profound clean on since a long time ago disregarded earbuds.
THE FINAL TOOLS FOR SOME HARD-TO-REACH CLEANING
Assuming that you separated a portion of the soil, however getting it out with constrained air or a brush is demonstrating interesting, there are a couple more devices to attempt. The accompanying can be utilized coupled with every one of the recently referenced instruments:
- Concealing tape or painter’s tape
- Mounting clay or cleaning gel
- Vacuum with a little spout connection
Utilizing tape or clay to assist take out flotsam and jetsam from more profound fissures with canning ideally be all that you require to completely clean every one of the little hiding spots of your earbuds. The cement of veiling or painter’s tape is sufficiently tacky enough to get soil yet light enough to not leave any buildup on a superficial level as more grounded tapes may.
Assuming soil is truly somewhere down in an earbud tip and difficult to come to, the tape may not get to it. That is the place where clay (the caring utilized in expressions and specialities for securely mounting things to the divider) or a cleaning gel can come in. Warm up the clay by massaging a limited quantity of it in your grasp, and turn it over the impacted region.
Now, the mix of this multitude of instruments should clean away most earbud gunk. A few particularly grimy buds may require rehashed and rotating use from a mix of air, scrubber, and clay. The key is to work at it, gradually, until the earbuds are spotless.
The much of the time you clean your earbuds, the less soil and development there is and the fewer apparatuses and real effort you want. Assuming you forestall earbuds from getting excessively messy, you guarantee that they will endure longer and ideally be less inclined to diminished sound quality or breakage.
As frequently the case, a little deterrent consideration can assist with saving you from exorbitant fixes or substitutions not too far off. So make certain to store your remote earbuds in their charging situation when not being used, safeguarding them from additional development like pocket build-up, and remember to give them a periodic check and clean.


