

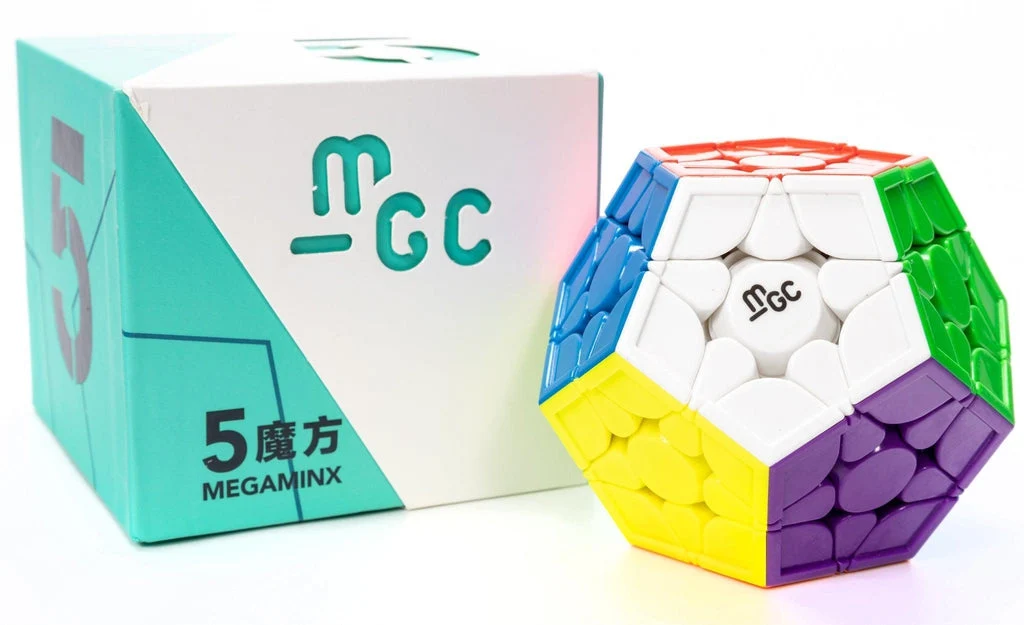
The Megaminx looks much more complicated than a standard Rubik’s Cube, but its basic solving ideas are surprisingly familiar. It has 12 pentagonal faces and 50 movable pieces, so there are more pieces to track, but a beginner can solve it by working through the puzzle in layers. If you already know how to solve a 3×3 Rubik’s Cube, several of the moves and ideas will feel familiar.
Understand the Megaminx First
Before making your first move, choose one color as your starting face. White is commonly used, although the exact color scheme can differ between puzzles. Each face has one fixed center, five edge pieces, and five corner pieces.
The most useful notation is similar to 3×3 notation:
- R means turn the right face clockwise.
- R’ means turn the right face counterclockwise.
- U means turn the upper face clockwise.
- U’ means turn it counterclockwise.
- F means turn the front face clockwise.
- D means turn the bottom face clockwise.
A normal face turn on a Megaminx is 72 degrees, rather than the 90-degree turn used on a 3×3.
Step 1: Make the First Star
Start by building a five-piece star around your chosen center. Each edge must match both the center color and the center on the neighboring face.
Do not rush this stage. It is mostly about understanding where pieces belong. When the five edges are correctly placed, you should have a complete star with matching side colors.
Step 2: Solve the First-Layer Corners
Now insert the five matching corners around your star. Look for a corner containing the colors of two neighboring side centers and your starting color.
Use familiar 3×3-style corner insertion techniques to place each piece without disturbing the solved star. Once all five corners are correct, your entire starting face is solved.
Step 3: Build the Middle Layers
Turn the puzzle so your completed face is on the bottom. Your next job is to solve the surrounding edges and corners.
This is where the Megaminx begins to feel longer than a 3×3. Work around the puzzle, pairing each edge with its correct centers before inserting it. Continue building the next sections one at a time. The same basic idea is repeated around the puzzle until only the final face remains.
Keep checking the center colors before inserting a piece. A correct-looking piece can still belong somewhere else.
Step 4: Create the Last-Layer Star
Place the unsolved face on top. The goal is now to orient its five edges so their last-layer color faces upward.
A useful beginner algorithm is:
F R U R’ U’ F’
Depending on the pattern you see, you may need to perform the sequence more than once. Keep the puzzle oriented correctly between attempts.
Step 5: Position the Last-Layer Pieces
After making the star, the pieces may have the correct color facing upward but still be in the wrong locations. The next stages are to orient and position the remaining corners and edges.
For corner orientation, a commonly used sequence is:
R’ D’ R D
Place an incorrectly oriented corner in the working position and repeat the sequence until that corner is correct. The puzzle may look scrambled while you do this, but that is normal. Move the next unsolved corner into position and repeat.
Finally, cycle the remaining edges and corners into their correct locations. Several Megaminx beginner methods use short sequences adapted from 3×3 techniques for this stage.