In this article, we will look at how you can install BlueStacks on your Windows PC or laptop and install it to use any Android application on the Bluestacks software.
Sometimes it becomes too thrilling to see mobile phone users spend too much time on their phones which makes their eyes hurt in the long run. Although playing games can become more fun and exciting if you play it on a large screen like your Personal Computer (PC).
If you are wondering if one can play mobile phone games on his/her Personal computer, Yes you can. It is possible to play mobile phone games on your Personal computer by using a popular software called Bluestacks.

It is capable of running many popular games and apps such as Candy Crush Saga and WhatsApp Messenger. It allows you to multitask in another window by using another software like Microsoft Word at the same time.
The software is focuses largely on selling apps. And it even requires you also need to pay a $2 monthly fee if you choose not to install titles from BlueStacks’BlueStacks’ partners.
These days, people can run their Android system through their PC with the help of an emulator. There are many emulators present in the market, but the one which is most popular and people have been using a lot these days is Bluestacks.
Without any further ado let us have a look at how one can make use of the Bluestacks emulator for PC?
What is Bluestacks?
Bluestacks is one of the most admired Android emulators by tech-savvy users. It can be used on your PC either to run games or to run other productive apps. We can install and run the apps very easily.
If you would like to give Bluestack a try, here are some steps listed below on how to use Bluestacks for PC:
1.Download the Bluestacks Application on your Personal computer (PC) :
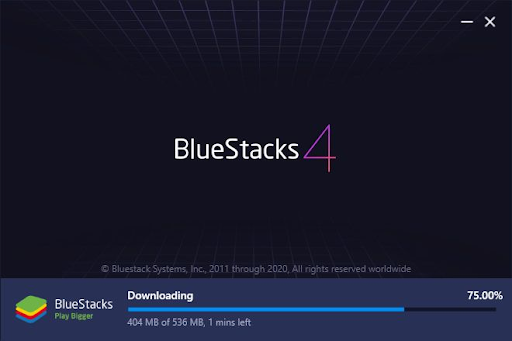
Firstly you muneed to download Bluestack from its official website. Just click the download button at the bottom part of the screen. Then run the .EXE file that appears on the screen. However, before downloading Bluestacks emulator, check once on your system if the .NET framework is present. If it is not present, please install it before proceeding further because without it you can’t download the Bluestacks app. It requires 10-15 mins on an average to download the app, and it depends on your network speed too.
2. Sync with your phone:
Once you finish the installation process, next, it will prompt you to put in some data such as a valid phone number or an email for verification. Once you have entered the data in Bluestacks emulator, then it will send you a confirmation message.
3. Download the apps according to your requirement:
Once you have completed syncing the Bluestacks emulator with your phone, then you can move to the next step, i.e. about how to use Bluestacks emulator for downloading the apps that you need to work on using your PC. To download the app that you wish to, type the name of the app in the search bar. Voila! Your download will get started automatically.
4. Download Connector
Bluestacks is also very helpful to receive and send messages using a PC. This is possible once you download the Bluestacks Cloud Connect app from Google Play. Hereafter, you will get a PIN to activate the connector. After following such a simple procedure, now you can start texting and send messages using the Bluestacks emulator.
5. Start Using it
Last but not least, when you finish going through all the steps as mentioned earlier, then you are good to go further and use Bluestacks on your PC. To access the emulator on your PC, double click the Bluestacks icon and operate the app as per your convenience.
Hope the above-listed steps of how to use Bluestacks for PC helped you in installing the same. The software is still in the development process so you may find a few bugs and issues. However, overall the app is still useful and helpful for people who want to use the Android system on their PC.
If you have any doubts and queries, please let us know in the comments below. Also, if you found our content helpful and share it with your friends.


