


In this guide, we will tell you about the basics of using the free video editor Shotcut, such as how to set up a project, edit your timeline, and export video.
Setting up a project
- Under New Project, select the project folder where you want your project to be saved.
- Give your project a name and choose your video resolution and frame rate. If you choose Automatic, the resolution and frame rate will be based on the first file you add to your project.
- Click on Start to launch your project.
Adding a media
- You can add media by dropping files directly into the playlist window. Each file will display a thumbnail, the clip name, as well as the duration of the clip and the date it was added.
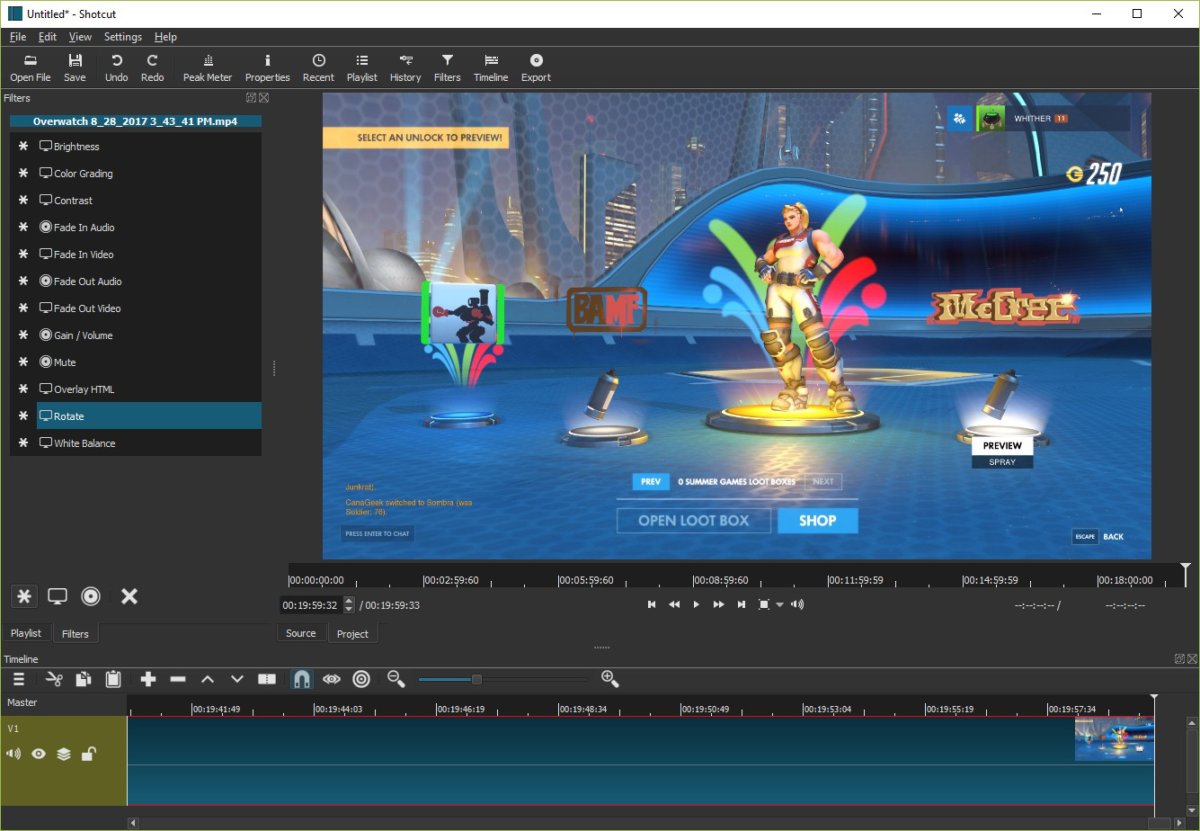
- Double-click on the clip to see it previewed in the source window.
- Press the space bar to stop and start the preview.
Adding clips to your timeline
- You can drag clips from your playlist into the timeline at the bottom.
- If you want to add a shorter section of the clip, double-click on the clip in the playlist to begin previewing in the source window.
- You can then drag the arrows at either end of the preview timeline to designate new in or out points on the clip.
- Now when you drag the clip onto your timeline at the bottom, only the section between the in or out points will be added.
Learning the fundamentals of a video editor like Shotcut is a great start, but to truly enhance your video editing abilities, mastering foundational and advanced editing techniques is key. If you’re looking to take your editing skills to the next level, platforms like EditMentor offer structured courses designed to deepen your understanding of video editing principles and help you build a strong creative foundation.
Editing on the timeline
- Drag either side of the clip to shorten or extend it.
- Click and drag a clip to move it on the timeline.
- If a clip covers another clip, it will automatically create a cross dissolve between them. You can change the length of the cross dissolve by clicking and dragging either side.
- To split a clip, move your play head to where you want the split to be and click on the Split at Playhead icon, or simply press S on the keyboard. The clips will now be cut at this point and will be able to be moved or edited independently.
Adding multiple tracks
- To add multiple tracks, right-click next to one of your tracks on the timeline, and under Track Operations, click on Add Video Track. You will now be able to put clips on separate tracks. The uppermost track will always take precedence.
- You can also click on Add Audio Track if want just for audio. You can also remove tracks by clicking on Remove Track.
Exporting video
- To export a video, click on Export at the top. Then, choose your export preset.
- Click on Advanced if you want to further customise your export settings.
- Choose whether you want to export your timeline, playlist, each playlist item, or what is in your source window.
- Click on Export file.
- Name your file, choose its destination, and click on Save. Your file will now export, and you will be able to monitor the progress in the Jobs window.

