


Google today declared that it is bringing Road View to find out about Guides application in India. For this, Google has cooperated with Tech Mahindra and Genesys Global, which will gather and permit geospatial to the organization, which it will then, at that point, use for giving Road View symbolism to research Guides clients in India.
The organization said that Road View will be accessible on Google Guides on Android and iOS with new symbolism authorized from nearby accomplices covering north of 150,000 km across ten urban communities in India. These urban communities are — Bengaluru, Chennai, Delhi, Mumbai, Hyderabad, Pune, Nashik, Vadodara, Ahmednagar, and Amritsar. Google likewise said that it will keep on extending this component to 50 additional urban areas in India toward the finish of 2022. Likewise Read – Google Guides route presently works without a telephone on Wear operating system: How to utilize it
Besides, Google said that it will give Road View APIs to nearby engineers in a bid to empower them to foster elements and encounters utilizing Road View symbolism. Additionally Read – Google Pixel January programming update presently carrying out: Rundown of qualified telephones
As Road View shows up in Google Guides in India, here is a definite aide with regards to how you can utilize this usefulness.
The most effective method to utilize Road View in Google Guides on Android
Stage 1: On your Android telephone or tablet, open the Google Guides application.
Stage 2: Quest for a put or drop a pin on the guide.
Stage 3: To drop a pin, contact and hold a put on the guide.
Stage 3: At the base, tap the spot name or address.
Stage 4: Parchment and select the photograph named “Road View” or select the thumbnail with a Road View symbol 360 photograph.
Stage 5: When you’re finished, at the upper left, tap Back.
The most effective method to utilize Road View Layer in Google Guides on Android
Stage 1: On your Android telephone or tablet, open the Google Guides application.
Stage 2: At the top, tap Layers and afterward Road View.
Stage 3: Blue lines on the Guide show Road View inclusion. Tap on any blue line to enter Road View.
The most effective method to utilize Road View in Google Guides on iPhone
Stage 1: Open Google Guides application on your iPhone.
Stage 2: Quest for a spot or contact and hold a spot on the guide.
Stage 3: Tap the Road View thumbnail.
Stage 4: To show your environmental elements in Road View, delay the screen or tap Compass.
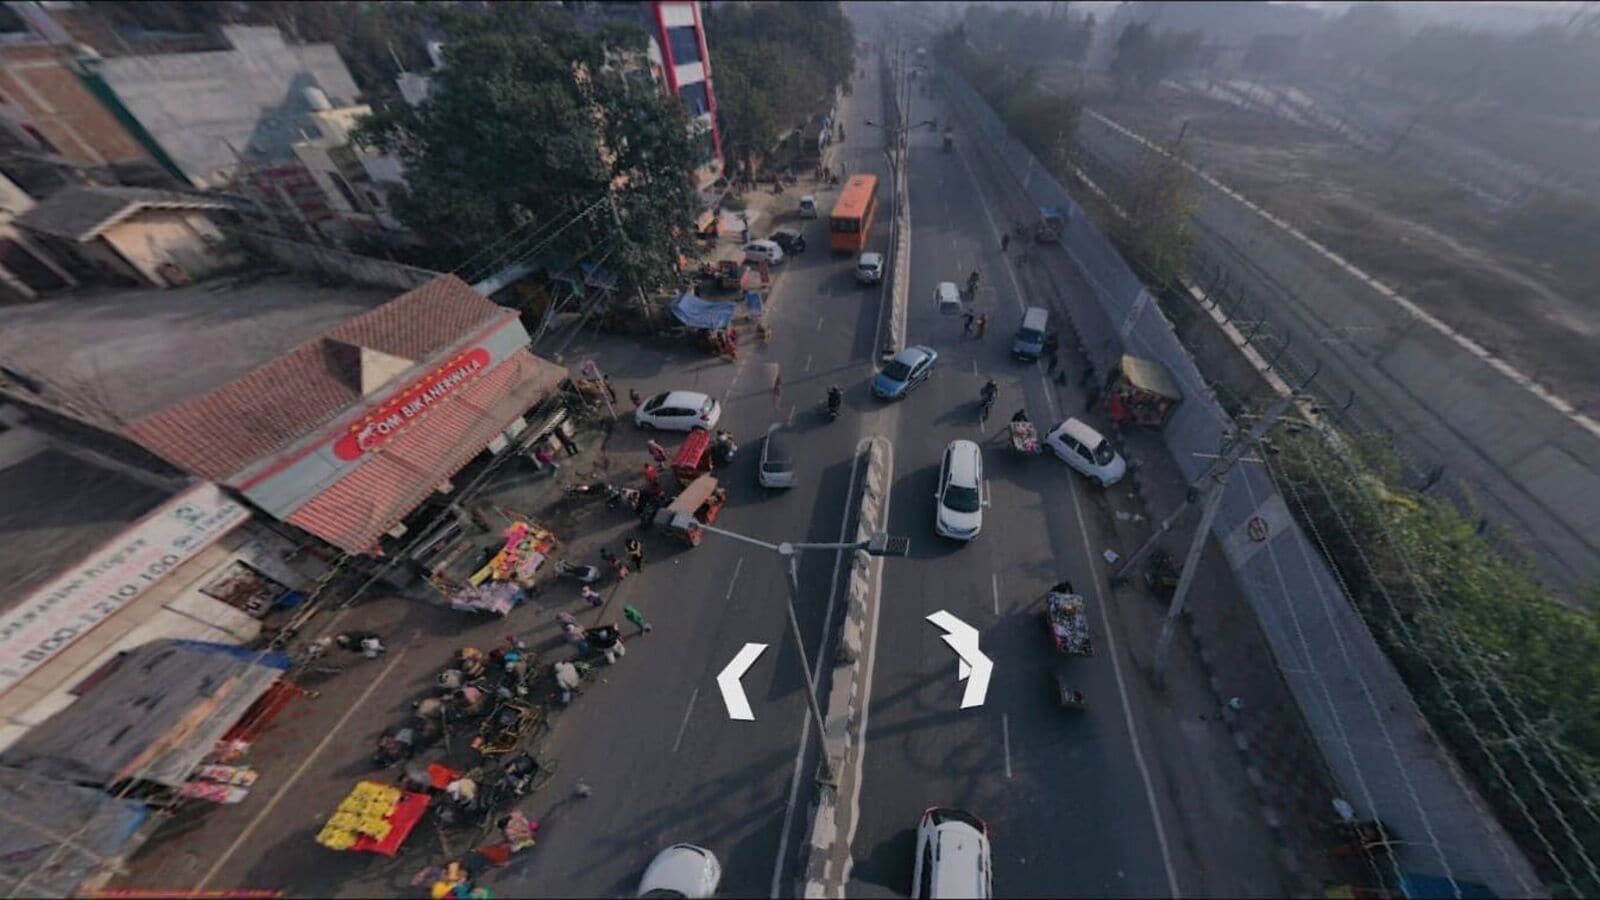
Stage 5: To move the view around, swipe left or right. You can likewise swipe up or down. You can tap the bolts in the city to change your perspective on the guide.
Stage 6: Tap Back when you are finished.
The most effective method to utilize Road View Layer in Google Guides on iPhone
Stage 1: On your iPhone or iPad, open the Google Guides application.
Stage 2: At the top, tap Layers and afterward Road View.
Stage 3: Blue lines on the Guide demonstrate Road View inclusion. Tap on any blue line to enter Road View.


