

The Unified Payments Interface (UPI) was created by the National Payments Corporation of India (NPCI), which is an immediate real-time payment system that enables for inter-bank peer-to-peer and person-to-merchant transactions. The National Payments Coordinating Initiative (NPCI) is the body in charge of all online payments.
Because the technology can combine many bank accounts in a single mobile application, UPI has become the most popular payment gateway. Under one roof, it also offers quick money transfers and merchant payments.
For you to be able to use Google Pay to make payments, your bank must allow UPI payments. You must create a virtual payment address in the UPI app (VPA). It varies depending on which UPI service provider you use.
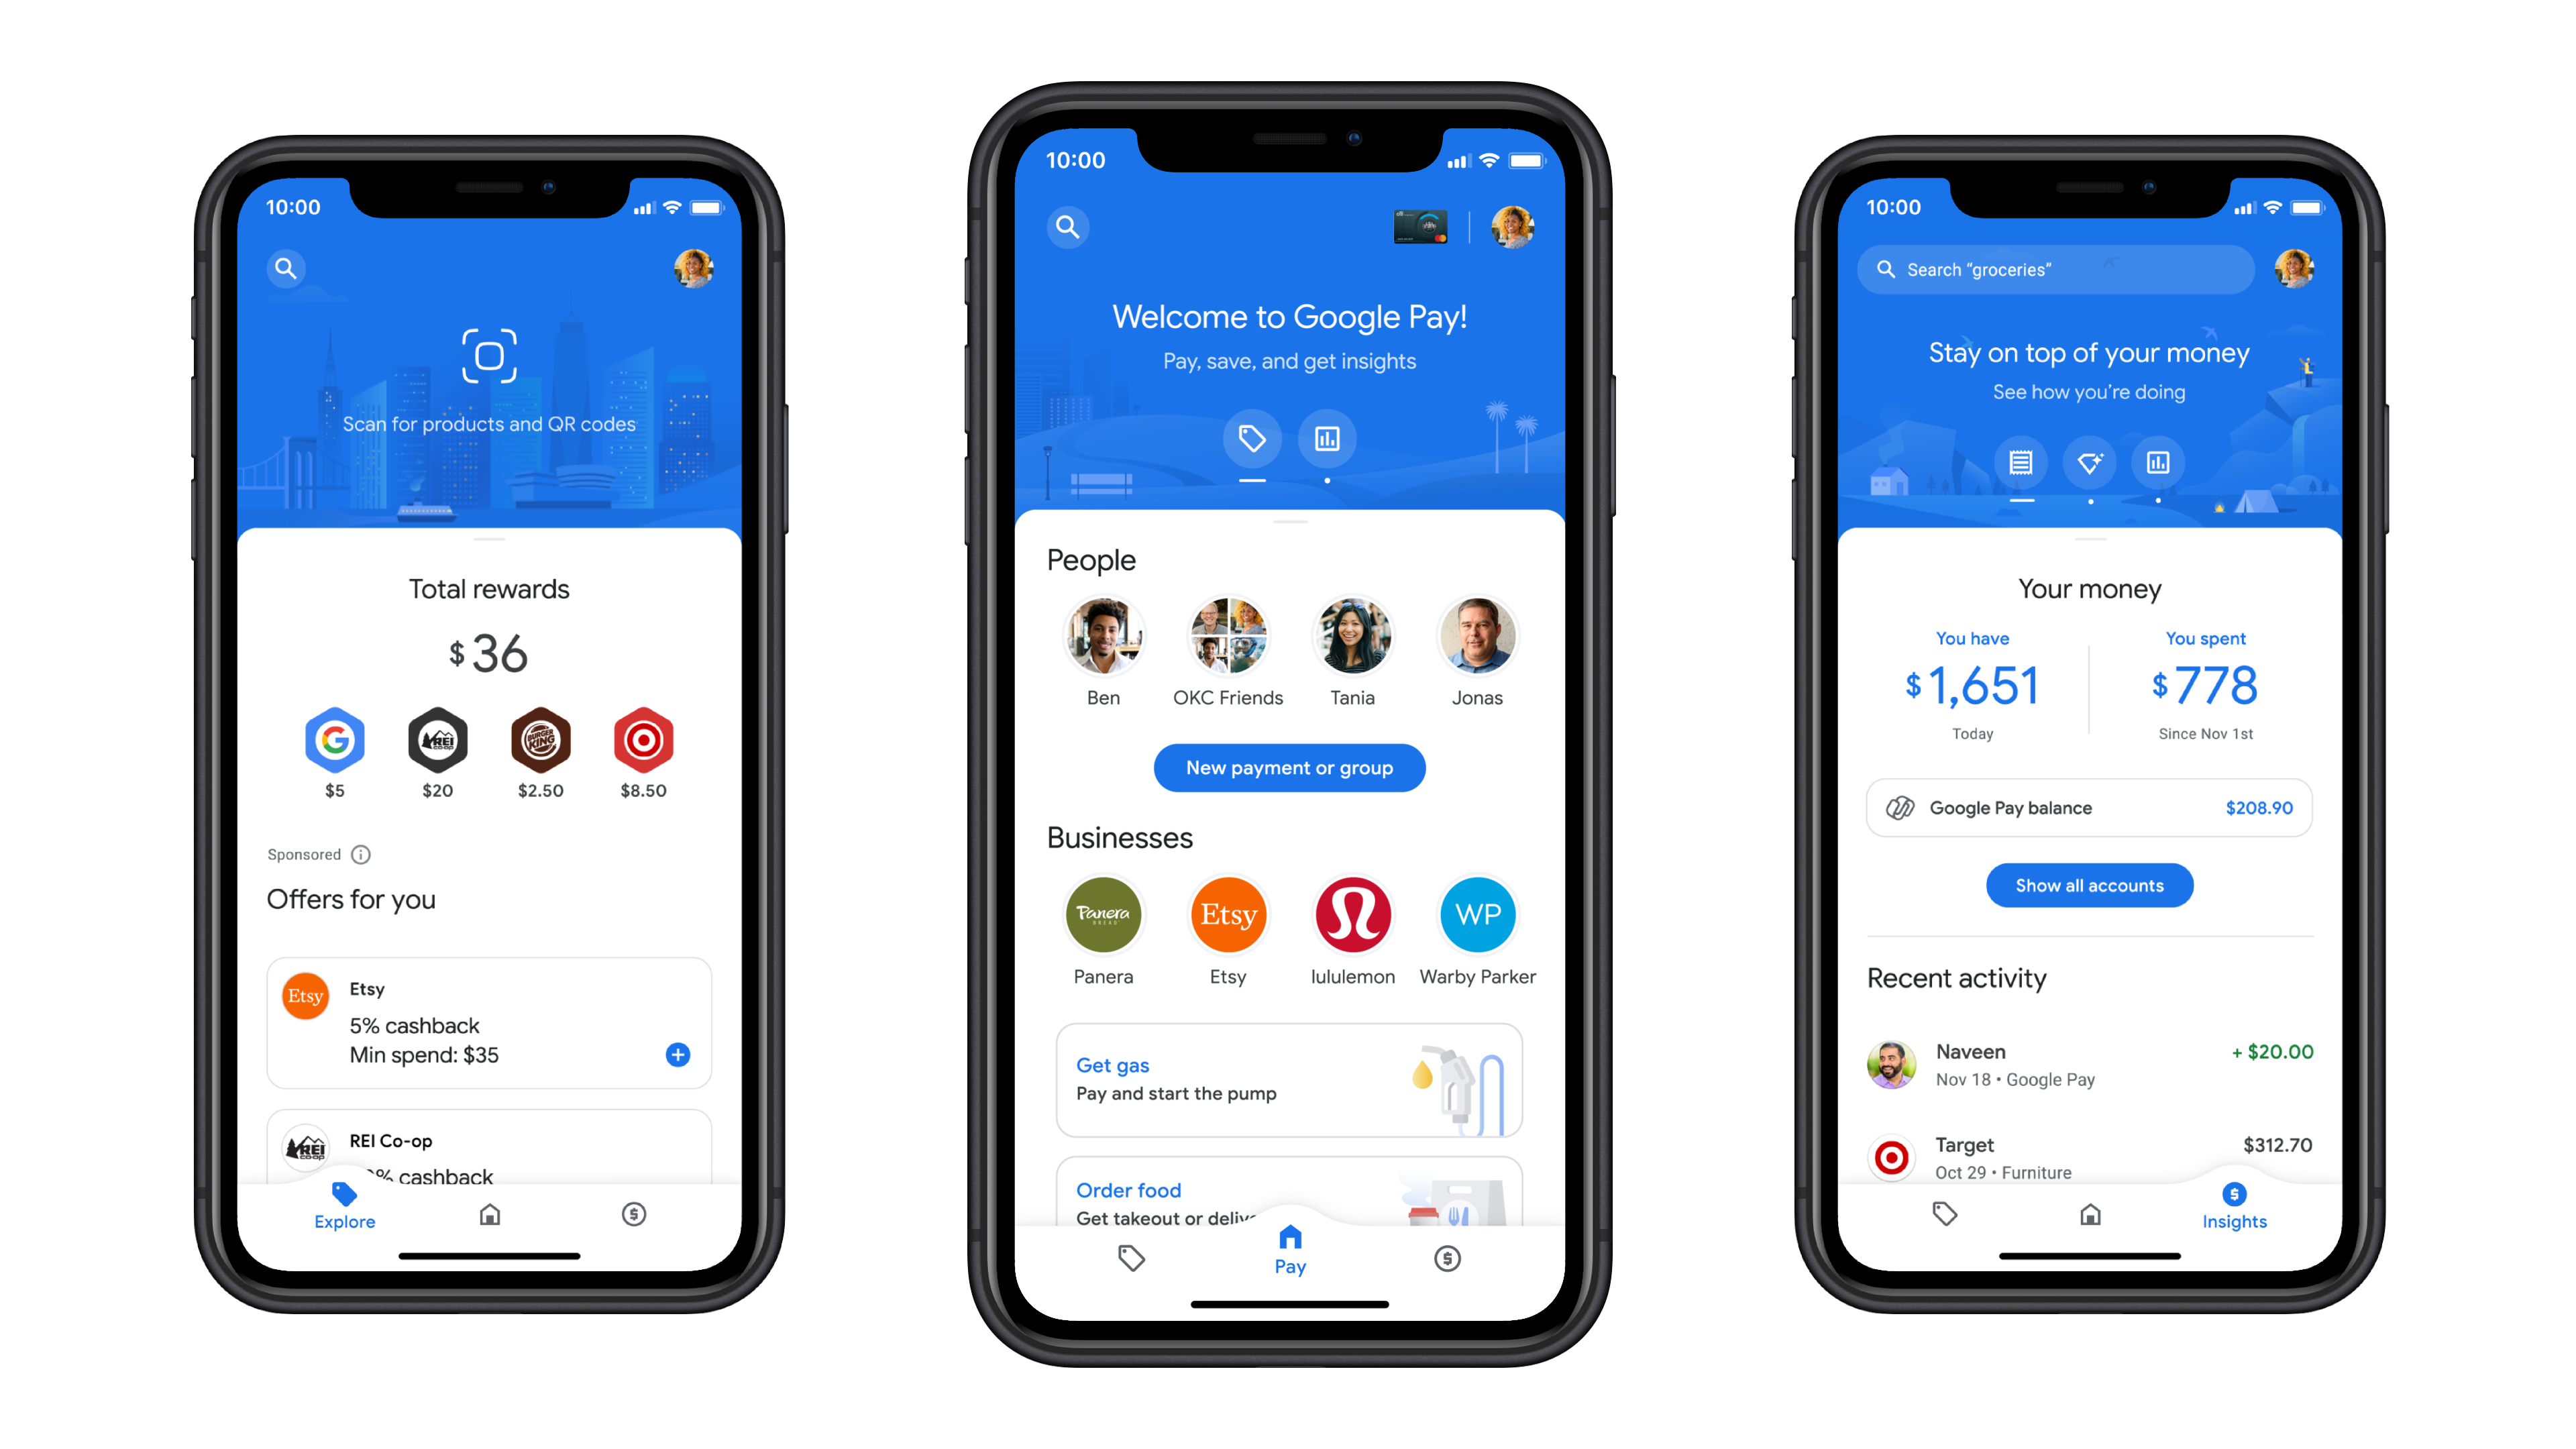
Google Pay is a mobile app that allows users to make real-time digital payments via the UPI service. Follow the steps below to establish a new UPI Id in Google Pay.
Follow these steps to create a new UPI ID on Google Pay:
- Sign in to the Google Pay app on your phone.
- In the top right corner, tap your photo.
- Choose your payment options.
- Choose the bank account for which a new UPI ID is required.
- From the drop-down option, choose “Manage UPI IDs.”
- Tap the ‘+’ next to the UPI ID you wish to create to generate one.
- When making a payment, select the UPI ID you want to use under “Choose account to pay with.”
How can you find out what your UPI ID is in Google Pay?
- To find your UPI ID, open Google Pay. To access the app, you will need to enter your Google PIN.
- In the upper right corner, tap your photo.
- Choose a bank account.
- Choose the bank account for which you want to view the UPI ID.
- The UPI ID can be found in the ‘MANAGE UPI IDs’ section.
When you change your UPI ID, you’re also altering your handle and the bank server from which you’ll be making payments.
- Open Google Pay and sign in.
- In the upper right corner, tap your photo.
- Choose a method of payment.
- Choose the bank account for which you want to view the UPI ID.
- Tap the UPI ID associated with the bank account you’re going to use.
- Next to the UPI ID you want to use, tap the ‘+’ sign.
Creating an additional UPI ID in Google Pay is simple and takes only a few minutes; however, be sure your bank supports the UPI function. If necessary, the customer can add several UPI IDs. You can have up to four UPI IDs in your bank account. These can also be taken away at any time. You can have many UPI IDs for the same bank account. According to the Google Pay website, this helps to reduce payment delays or failures.


