


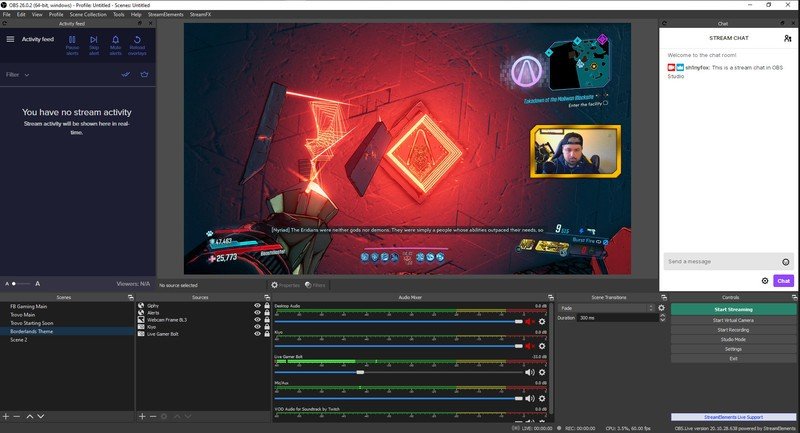
OBS is a free and easy software that will help you manage a live stream. In this guide, we will give steps on how you can set up a main gaming screen and connect OBS to Twitch.
Setting up a main gaming screen
- Open OBS.
- Click on the + icon to create a new scene and label it as “Gaming scene.”
- You will now need to add sources to this scene. Inside the “Sources” box, click on the + icon > Display capture.
- Make sure that “Create new” is selected. Label it and click on “OK.”
- If you are using dual monitors, make sure to choose the one that you are actually gaming on. Click on “OK.”
- Now, you need to connect your mic. In the “Sources” box, click on the + icon.
- Click on “Audio input capture.” Make sure that “Create new” is selected and click on “OK.”
- Select your device and click on “OK.”
- In your Audio Mixer window, you can see both a mic level and an audio desktop level. Under each one is a slider. You can use it to adjust the volume according to your preferences.
- To add a webcam, go to the “Sources” box and click on the + icon > Video capture device.
- Select your webcam source and click on “OK.” You can adjust the size and placement of the webcam right on the screen.
Now that your basic gaming screen has been set up, you can connect OBS to Twitch. to start streaming.
- Click on Settings > Stream, where you will enter your stream key from Twitch. It is important for you to note that you should not share your stream key with anyone.
- To obtain your stream key, go to twitch.tv, click on your profile in the top-right corner of the screen.
- Go to Creator Dashboard.
- On the left, click on Settings > Stream, from where you can copy your stream key.
- Paste the key into OBS and click on “OK.”


