

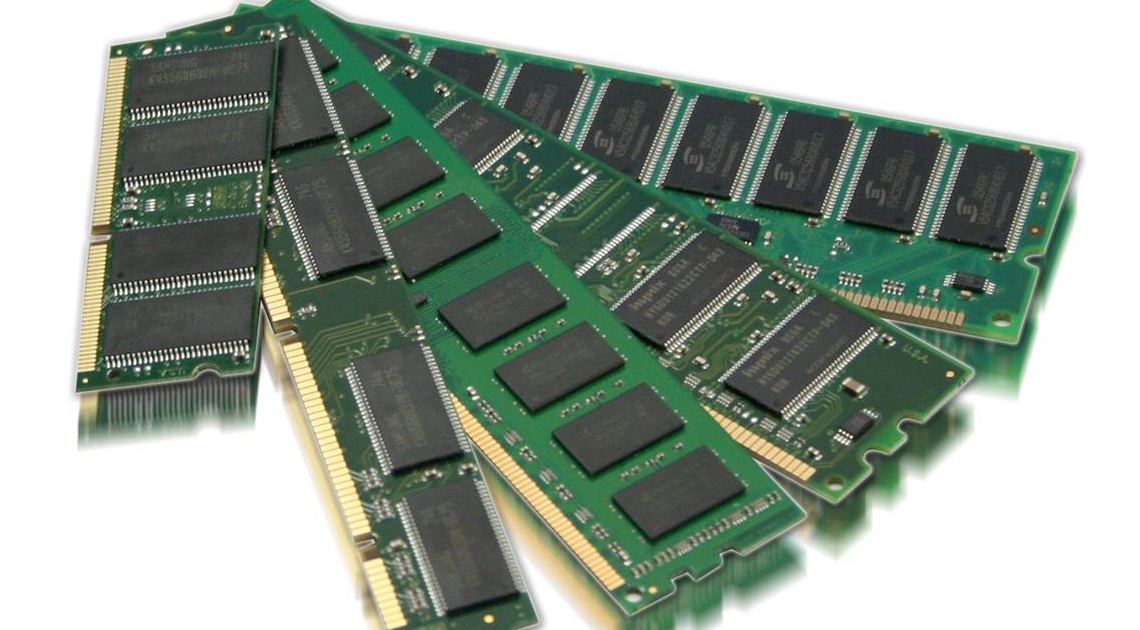
RAM stands for Random Access Memory if you are new to the computing world. It is a basic component which can bring a drastic change in responsiveness, speed and overall performance of your desktop system. Having an increased RAM can make multitasking smooth and almost seamless.
Well, here are some necessary precautions which you should take before making any changes in your RAM, avoid risking your precious personal data by following the steps and keeping the precautions in mind.
PRECAUTIONS TO TAKE BEFORE INSTALLING RAM:
In terms of science, any static electricity can damage the components in your computer system and the human body has a natural tendency of a moving static current. In order to avoid damaging any of your CPUs components, touch any unpainted metal surface on the outer frame of your computer to neutralise the static current flowing in your body. Another method is to buy and wear an ESD wrist strap which will do the same thing without damaging any sensitive computer component.
To avoid damaging your RAM, DO NOT hold your RAM from the gold pins. ALWAYS grip the RAM from either top or sides, but never from the gold pins.
Follow these precautions and you are good to go.
10 STEPS TO INSTALL RAM IN YOUR DESKTOP COMPUTER
Here are ten steps following which you can also increase your computer’s RAM and enjoy the instant benefits:
1. Gather all Supplies before Starting:
Make sure that you are working in a static electricity-free environment. Follow the precautions, clear the area off any plastic bags or papers. Collect the following supplies:
- Desktop CPU
- RAM (to be installed)
- Screwdriver
- Manual for Installation
2. Shut down your PC:
Shut down your PC in order to avoid any data loss. Although your personal files are saved on the Hard Disk and not RAM but just to be safe, follow this step.
3. Unplug the Power Cable:
Unplug the power cable to detach the system from any type of faulty electric current that may be flowing. This is an important step considering, the components in your desktop are highly sensitive to unwelcomed electricity.
4. Press and hold the Power Button for 5 Seconds:
This step will discharge any remaining electrical charge in the system.
5. Open your CPU Shell:
To follow this step, you may want to refer to the manual. If you know your tech, just remember which cable fits where and you will be good to go.
6. Ground your body:
Touch any unpainted metal surface from the shell of your CPU to earth your body off any static electric charges. It is a precautionary but very crucial step.
7. Remove existing RAM:
When you recognise the RAM, dig through the wires (if any), press the clip sitting right next to each RAM module. The moment you press the clip, RAM will pop right out of its shell.
8. Install new RAM:
Grip the RAM modules from the side and press the RAM modules into their dedicated slots. You may apply a little pressure and make sure that they are fitted perfectly and sitting firmly.
9. Close the CPU Shell:
Plug in all the wires and plugs that you removed earlier and close the CPU’s shell using screwdrivers.
10. Plug the Power cable back:
Plug-in your Power cable and boot your device.

CONGRATULATIONS, YOUR RAM HAS BEEN UPGRADED!


