


While it’s dependably critical to keep your records secure, that security can mean dissatisfaction for your relatives assuming you out of nowhere die. All things considered, assuming you’re the one in particular who knows your passwords, demise implies that your records are locked until the end of time.
Both Google and Facebook offer clients include that let others “acquire” their records in the afterlife. What’s more now Apple offers that highlight as well.
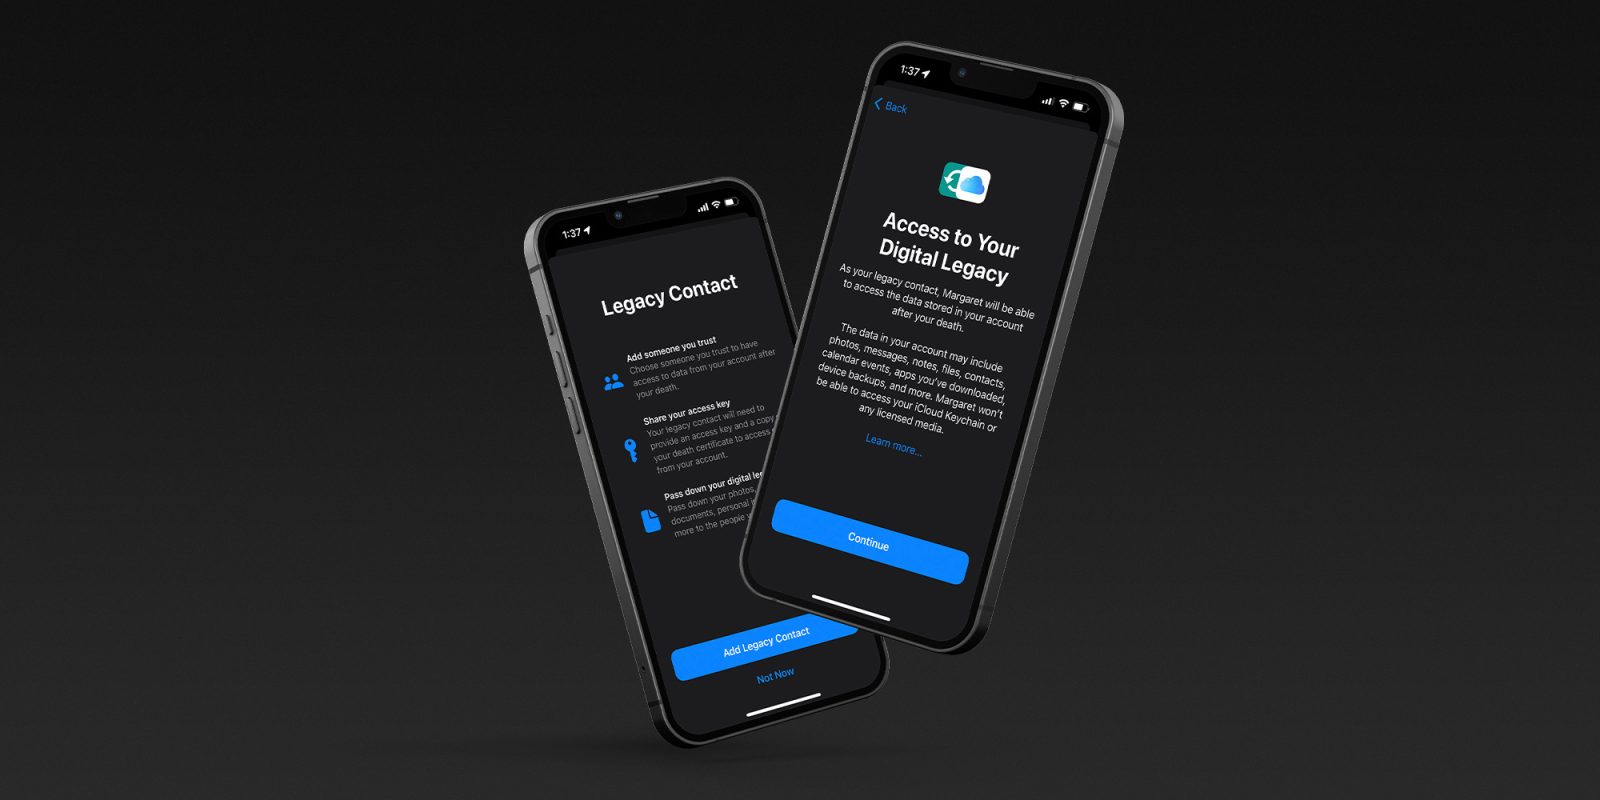
Apple’s Digital Legacy feature allows you to assign up to five “Heritage Contacts” who can acquire your Apple ID and every one of its information if you bite the dust. They’ll have to acknowledge the greeting and give confirmation once you pass on, however whenever they’re endorsed, they’ll have full admittance to your Apple ID’s passwords, photographs, records, instant messages, and the sky is the limit from there.
This is the way to pick a Digital Legacy contact, and what that contact should do once you bite the dust.
Step by step instructions to set up Apple’s Digital Legacy highlight
Before anything, you’ll have to ensure that your iPhone, iPad or Mac is completely refreshed. They’ll be running iOS 15.2, iPad 15.2, or macOS Monterey 12.1 separately.
You can amount to five Legacy Contacts to one Apple ID account.
To begin:
On your iPhone or iPad, open the Settings application and tap your name at the highest point of the page. In the Apple ID menu, tap Password and Security and afterward Legacy Contact.
On your Mac, open the System Preferences application and snap Apple ID in the upper right corner. In the Apple ID menu, click Password and Security in the left sidebar, and afterward Legacy Contact.
When you’re on the Legacy Contact page:
1. Snap or tap the blue Add Legacy Contact choice. It’ll provide you with a speedy once-over of how the Legacy Contact framework functions.
2. Pick somebody from your Contacts rundown or Family Sharing gathering to welcome as a Legacy Contact. Assuming that they have numerous telephone numbers, you’ll have to pick one. You can pick anybody — they don’t have to claim their very own Apple result.
3. Tap Continue, then, at that point, pick how you need to save your Access Key. The Access Key is staggeringly significant — when you bite the dust, the contact will require it to get to your record. Contingent upon which get in touch with you picked, you can either print out an image of the key or send it in an instant message.
4. Whenever you’ve added the contact and saved your Access Key, tap Done.
You can see all your Access Keys by opening the Legacy Contact menu and tapping one of your contacts’ names. This is the place where you can disavow their entrance, as well.
If you added somebody with an Apple ID record of their own, they’ll have the option to observe the Access Key by going to the Legacy Contact menu on their gadget.

