


This guide is going to show the basics of using text in Premiere Pro, such as how to add it, formatting, and adding effects.
Adding text
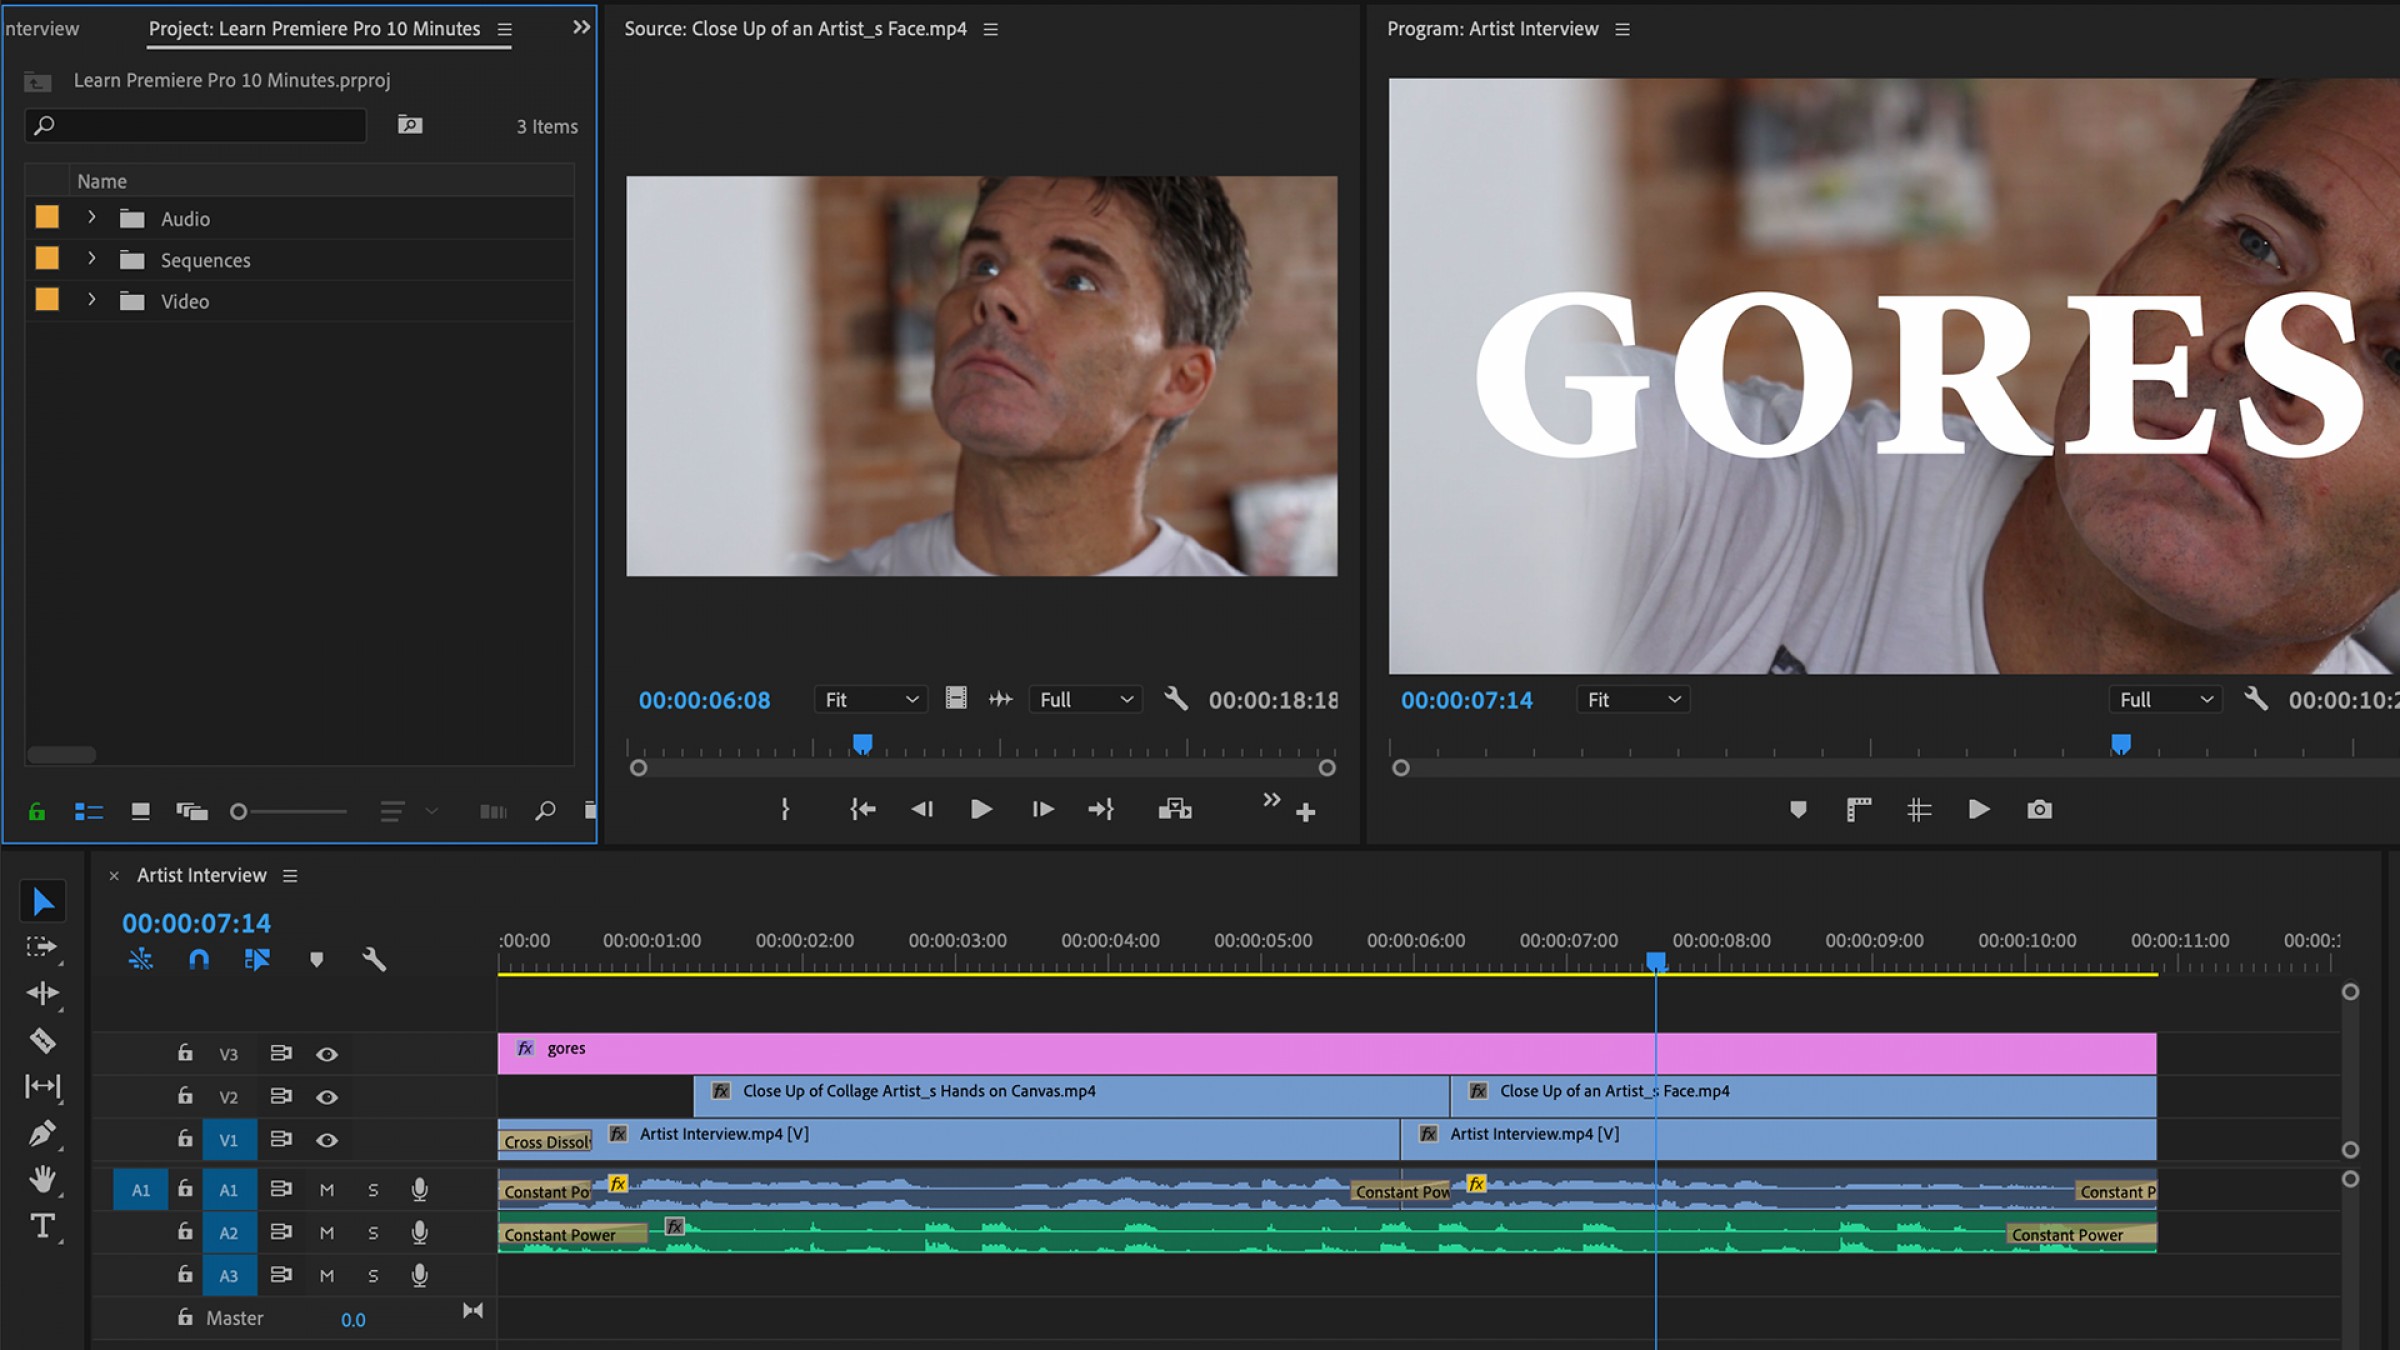
- To add text to your project, first select the Type tool by clicking on the T icon in the toolbar next to your timeline. You can also use the keyboard shortcut by typing in the letter T.
- You will now be able to drag your cursor across the screen to create a text box. Your text box will appear as a graphic layer on your timeline, which you can move, extend, or shorten.
- Click inside the text box and start typing to add your text.
- To change the size of your text box, click on the selection tool from the toolbar next to your timeline here or press V on your keyboard.
- Drag the corners of the text box to resize. Click and drag to change the text position.
Formatting text
- To format your text, first select your text box from the right-hand side of your screen.
- Click on the Essential Graphics tab, and then on Edit. Be sure that your text is highlighted.
- Now you can change the format of the text, including the font, size, and orientation. You can align the text perfectly to the horizontal centre of the frame by selecting the Align Vertically icon. You can perfectly align to the vertical centre of the frame by selecting its icon.
- To change the colour, click on the coloured box next to Fill. Select the colour that you want from the colour picker, and then click on OK. If you want to add an outer stroke, background, or shadow to your text, click on the checkmark and select your desired colour. You can change the density of the outer stroke by changing the number next to it.
Adding effects
You can add effects and transitions to your text layer on the timeline in the same way that you would on a normal layer.
- Start a cross dissolve to either side, so that the text gradually appears and disappears.
- From the right-hand side, go to the Effects tab, and then under the Video Transitions drop-down, find Dissolve and then Cross Dissolve.
- Click and drag the effect from the menu onto your text layer on the timeline. The effect has now been applied to your text.
- You change the duration of the transition by clicking and dragging on the effect. Repeat on the other side of the text clip to cross-dissolve out.

