February 18, 2020
RecordAnyVid has been launched way back in January, 2020. Since its release, the simplified and helpful features of the program have attracted many users to experience. Last week, RecordAnyVid enhanced itself in the latest update. Let’s first grasp the changes the program has made.
Latest Updated in RecordAnyVid V1.0.12
* Administration notification has been added while project adjustment failed;
* Enhanced the microphone/webcam mode on Windows 10;
* Fixed Intel initialization failure;
* Enhanced video recording quality;
* Fixed the high CPU occupation issue;
* Fixed bugs.
So in RecordAnyVid V1.0.12, you can actually enjoy the better enhanced screen capturing services. If you are new to RecordAnyVid, scroll down and grasp some general features of this outstanding program.
Also check: getcloudapp
What Is RecordAnyVid?
RecordAnyVid is a professional and user-friendly screen capturing tool that allows user to record any screen activity simultaneously. In addition, it supports instant previewing and preference tools to customized the recordings in users needs. The intuitive design of RecordAnyVid also makes the program easy to use. Therefore, it should be the most light-weight but reliable screen recorder to help capture the screen.
Features of RecordAnyVid
* Various output formats supported – MP4, WMV, MOV, F4V, AVI, TS, GIF, MP3, WMA, AAC, M4A;
* Webcam recording and snapshot feature are both available;
* Recording area can be customized to any size in users’ preferences;
* Hotkeys and other preferences settings are allowed to enable more convenient user experience;
* Mouse effect is available to create video tutorials, and real-time editing is also offered.
>> Try RecordAnyVid for Free <<
How to Record Screen with RecordAnyVid
Steps to capture computer screen with RecordAnyVid is simple. You only need to follow this 4-step-guide to get the process done.
STEP 1. Launch RecordAnyVid and select Video Recorder. (To record audio-only, select Audio Recorder).
STEP 2. Adjust the recording area to fit the activity you are going to record. You can also set the system as well as microphone volume to be an ideal one.
STEP 3. Click on the REC button to start capturing the screen.
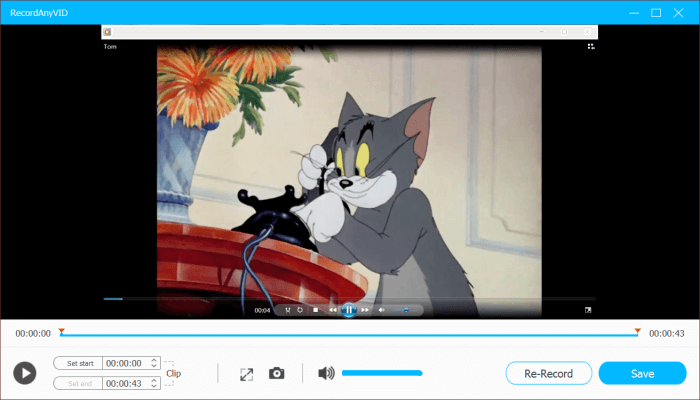
STEP 4. End the recording by clicking on the stop button. Then submit Save in the previewing window and you can get the recording outputted.
If you meet any technical problem while using RecordAnyVid, you are welcome to reach the technical team through [email protected] for help. Thank you for your support!


