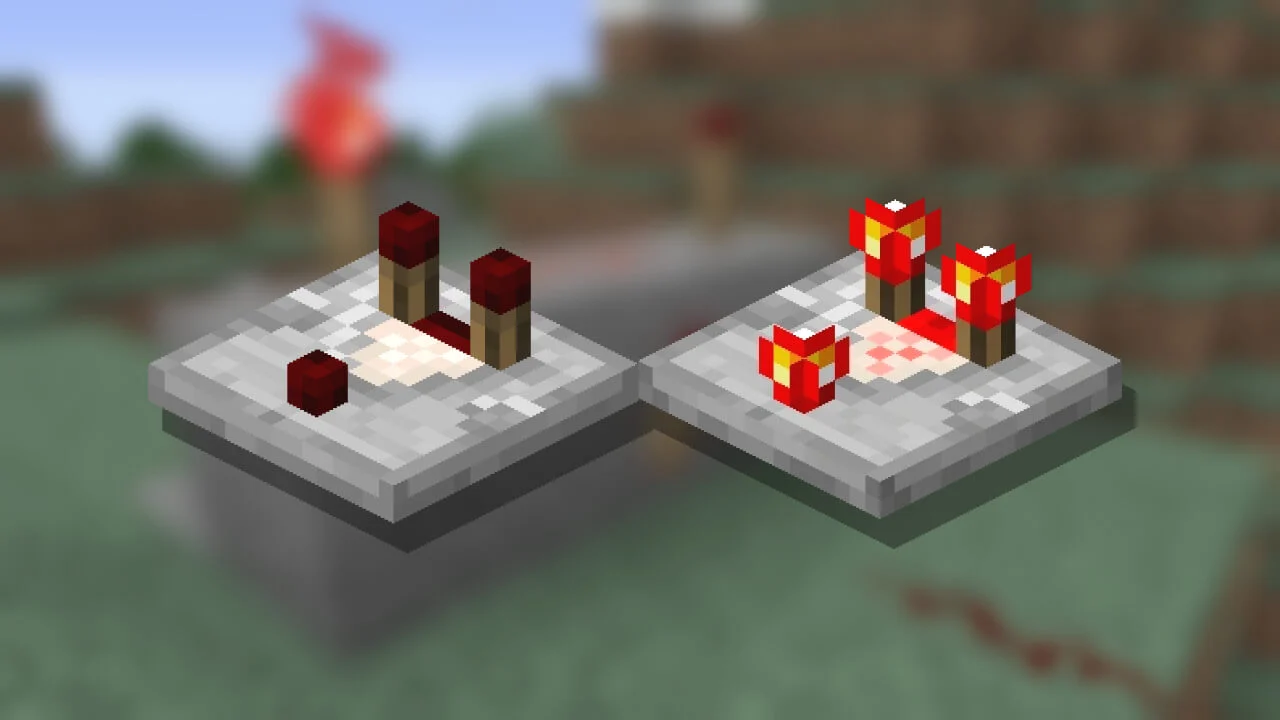
Redstone repeaters are essential components in Minecraft that play a crucial role in redstone circuitry. They allow for the transmission of redstone signals over long distances and enable players to create complex contraptions and mechanisms within the game. If you’re new to working with redstone or simply want to expand your knowledge, this guide will walk you through the process of making redstone repeaters in Minecraft.

Step 1: Gathering the Required Materials
To make a redstone repeater, you will need the following materials:
- 3 Stone
- 2 Redstone Torches
- 1 Redstone Dust
Step 2: Crafting the Redstone Repeater
Once you have the required materials, follow these steps to craft a redstone repeater:
- Open your crafting table.
- Arrange the materials in the crafting grid as follows:
- Place the 3 Stone in the bottom row.
- Put the 2 Redstone Torches in the middle row, with one in the left slot and the other in the right slot.
- Put the Redstone Dust in the top-center slot.
- Once you have placed the materials in the correct pattern, the redstone repeater will appear in the result box of the crafting table.
- Drag the redstone repeater into your inventory.
Step 3: Understanding the Redstone Repeater
Now that you have crafted a redstone repeater, let’s explore its functionality. The redstone repeater has two main components: the front and the back. The front is marked with a small redstone torch and has two input slots and one output slot. The back has a single input slot. This design allows you to control the flow and strength of redstone signals.
Step 4: Placing and Configuring the Redstone Repeater
To place and configure the redstone repeater, follow these steps:
- Select the redstone repeater from your inventory.
- Right-click on the block where you want to place the repeater. It can be placed on the ground or any solid block, but it must face a specific direction.
- To change the direction the repeater is facing, right-click on it. Each right-click rotates the repeater 90 degrees.
- Connect the redstone repeater to your redstone circuit by placing redstone dust or redstone torches adjacent to it. The input slots of the repeater receive the redstone signal, and the output slot transmits it to the next component in the circuit.
Step 5: Adjusting the Delay
One of the primary functions of the redstone repeater is to introduce a delay in the redstone circuit. By default, the repeater has a delay of one redstone tick (approximately 0.1 seconds). However, you can increase this delay by right-clicking on the repeater’s front. Each right-click increases the delay by one tick, up to a maximum delay of four ticks.
Step 6: Extending Redstone Signals
Redstone repeaters are particularly useful for extending redstone signals over long distances. When the redstone signal weakens due to distance, you can place repeaters in the circuit to boost and propagate the signal. By placing repeaters at appropriate intervals, you can ensure that the signal reaches its intended destination without degradation.
Step 7: Experiment and Innovate
Now that you have a good understanding of how to make and use redstone repeaters, it’s time to experiment and let your creativity run wild. Combine repeaters with other redstone components like redstone torches, comparators, and pistons to create intricate mechanisms, hidden doors, automated farms, and much more. The possibilities in Minecraft’s redstone world are endless!
In conclusion, Learning how to make a Redstone Repeater in Minecraft is a fundamental skill for any redstone enthusiast. By following the steps outlined in this guide, you can easily craft this versatile component and begin incorporating it into your Minecraft projects. Whether you’re building an elaborate redstone contraption or simply looking to add some automation to your world, the Redstone Repeater will undoubtedly prove to be an invaluable tool in your Minecraft adventures. So gather your materials, open your crafting table, and let your imagination run wild with redstone possibilities!


